At GCM Best Services, we know that protecting your investment in brick pavers goes far beyond just picking a sealer. Proper preparation is the most overlooked phase, but it’s what leads to beautiful results, lasting color, and pavers that stand strong against Florida’s rain, sun, and humidity. In this detailed guide, we share how we prep brick pavers before applying a new sealer, based on what truly works in Central Florida’s unique climate and soils. Whether you’re a homeowner, property manager, or business owner, these steps will help you avoid costly mistakes and disappointments.
Preparation is the step that makes or breaks your paver project.
Why proper prep determines success
Simply pouring sealer over dirty, weathered, or poorly-jointed pavers won’t work. We’ve seen it many times: old stains become permanent, haze appears, sealer peels, and moisture gets trapped. Proper surface and joint preparation is what gives paver sealers the chance to bond and protect.
According to technical recommendations by the General Services Administration (GSA), sealers work best when applied to surfaces that meet strict criteria for soundness, strength, and cleanliness. Surface prep ensures those standards are met.
If you skip careful cleaning, fail to remove old sealer, or ignore joint issues, your new sealer will almost certainly disappoint.
Brick paver basics and why sealer matters
In our experience providing hardscape services across Central Florida, we’re often asked why sealing is so important. Here’s what we share with our clients:
- Color longevity: Florida sun can fade paver colors fast. Quality sealers block UV rays and help color last for years.
- Stain prevention: Oil, rust, and plant debris leave marks if the pavers aren’t sealed and cleaned regularly.
- Joint integrity: Sealers help lock joint sand in place, stopping erosion from storms and irrigation.
- Easier cleaning: A sealed surface sheds dirt, mold, and algae more easily.
GSA research on brick paver compressive strength and absorption proves the value of effective prep: strong, low-absorption bricks last much longer when properly sealed.
When is it time to reseal?
We’re often asked how to judge if pavers are ready for new sealer. Here’s what we look for:
- Original color appears faded or patchy.
- Current sealer is flaking, peeling, or chalky.
- Water no longer beads on the surface.
- Stains and algae return quickly after cleaning.
If you see any of these signs, your brick pavers are likely overdue for a new sealer and fresh preparation.
Step-by-step: Prepping brick pavers for sealing
We use the following proven steps at GCM Best Services for our Orlando and Central Florida clients. Each phase builds on the previous for best results.
Inspection and assessment
A walk-through evaluation lays the groundwork for good prep. Our project managers look for:
- Cracked, loose, or sunken bricks
- Stains (oil, rust, plant debris)
- Weed growth and moss in joints
- Standing water or poor drainage
- Previous sealer condition (haze, flaking, uneven shine)
Any problems found in this step must be handled before moving on. For example, drainage or grading issues should be solved before sealing, using strategies like those described in our guide to effective drainage solutions for brick paver installations in Florida’s climate.
Weed and moss removal
Weeds not only look messy, they compromise your joints and the sealer’s bond. Even small roots can lift bricks. We remove plant growth using hand tools and appropriate eco-friendly weed killers.
For families who struggle with persistent weeds, we recommend reading our focused article on preventing weeds from growing between pavers in Orlando.
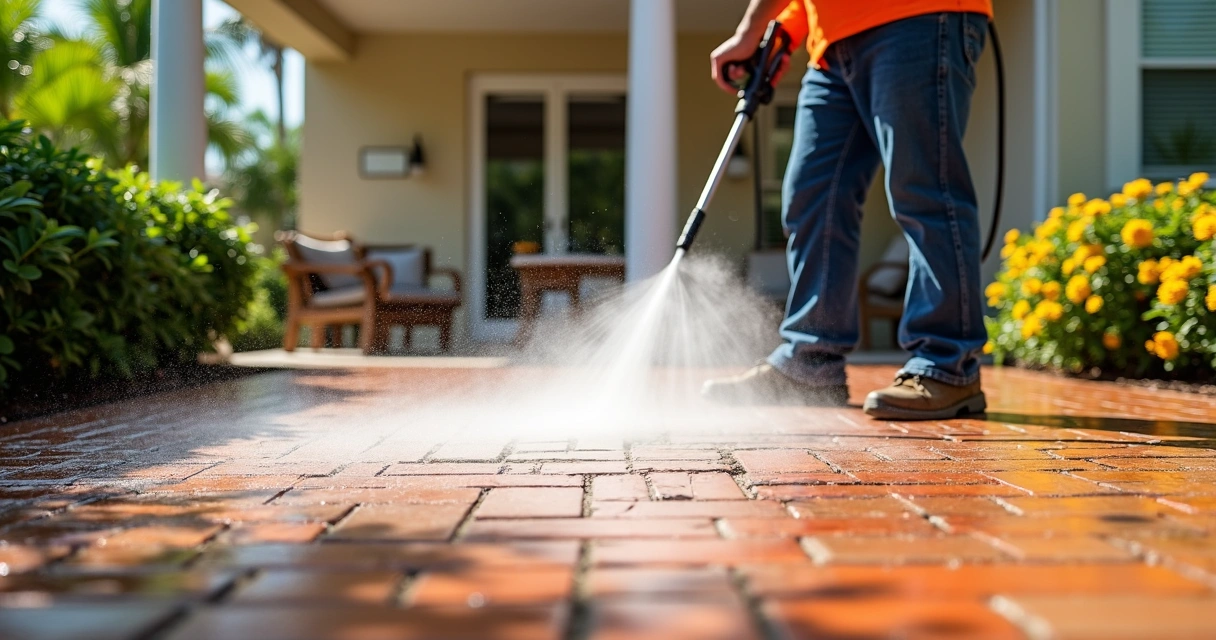
Surface cleaning: Pressure washing and stain treatment
The number one cause of sealer failure is applying it to a surface that is not clean.
Our experienced team uses commercial-grade pressure washers (usually 3000–3500 psi, rotary surface wands for even cleaning) to remove:
- Dirt, dust, and pollen
- Algae, mold, and mildew
- Leaf tannins and organics
- Old efflorescence (white powdery salt deposits)
We pay extra attention to stains. Oil and rust are common in driveways and patios, especially in Florida. We pre-treat these areas with special cleaners designed for paver surfaces, making sure not to damage the color or finish.
Sometimes acid washing is needed for stubborn haze or surface issues. We use diluted solutions with careful rinsing, as recommended by brick and paver technical guides.
Old sealer removal: When and how?
If old sealer is visible as flaking, whitening, yellowing, or uneven patches, it must be removed before new application. Otherwise, new sealer may not bond and you’ll see hazing or peeling.
- Solvent-based sealers often require specialized removal chemicals and scrubbing with brushes or rotary floor machines.
- Water-based sealers can sometimes be lifted with high pressure and mild strippers.
Removing old sealer is a slow process that pays off with lasting results.
After stripping, we rinse and check for residue, then allow the surface to fully dry before proceeding.
Joint sand restoration
Clean, well-filled paver joints are key to stopping shifting, weed growth, and water intrusion. Wind, rain, and cleaning often cause sand loss over time.
- Dry, clean joints are topped with bedding sand or polymeric sand, swept into place and compacted if needed.
- We select the sand type based on the location and traffic, so it matches the original installation (see our guide to what’s included in a complete brick paver installation estimate).
Polymeric sand, when used, is lightly misted after application to activate its binding agents, but must be fully dry before sealing.
Repairs: Address sunken or damaged bricks
It can be tempting to skip repairs before sealing. But loose, cracked, or sunken pavers will only cause bigger issues down the line. We always recommend fixing any structural problems first:
- Remove and replace broken bricks.
- Level sunken areas by lifting and rebuilding the base.
- Ensure tight edge restraints to stop movement.
For larger areas or complex root damage, professional re-installation may be needed. This ensures the base and sub-base are prepared according to best practices, like those outlined in our driveway and patio paving services.
Surface drying: Timing is everything
Never apply sealer to damp pavers or joints—trapped moisture will cause cloudy sealer, white stains, or blistering.
Here’s our approach based on Florida’s humidity:
- Wait at least 24–48 hours after washing, longer if weather is overcast or humid.
- Check for moisture below the surface—plastic sheet test or moisture meters work well.
- Joints must be bone dry to ensure proper sealer penetration and curing.
If rain is on the horizon, delay sealing. The risk of failure is too high.
Choosing the right sealer for your pavers
GCM Best Services guides customers to the right product for their needs, always matching to the paver type, use case, and aesthetic. The GSA recommends solvent-based sealers with a minimum 5% solids (preferably over 7%) for brick. We consider:
- Desired finish: natural/matte, satin, or gloss
- Slip resistance requirements
- Exposure levels (sun, rain, chemicals, vehicle traffic)
- VOC content and environmental safety
We always check product compatibility with your specific bricks and joints.
Troubleshooting common prep challenges
Even with a solid system, unexpected issues can pop up. In Central Florida, we’re no strangers to weather surprises, plant growth, or unusual stains. Here are a few we encounter and how we handle them:
- Persistent efflorescence: White, powdery residue is tough but treatable with careful acid washing and slow drying. Sometimes a second scrub is needed, but strong rinse is key.
- Deep oil/rust stains: These may need several spot treatments and time. Patience helps. If some residue remains, test sealer on a small spot before the main application.
- Quick afternoon storms: We keep flexible schedules. If rain threatens after prep, we wait until a dry window.
- Old, brittle sand between pavers: Careful vacuum removal and replacement is safer than washing it away.
No two paver projects are exactly the same. We adjust our steps for each situation.
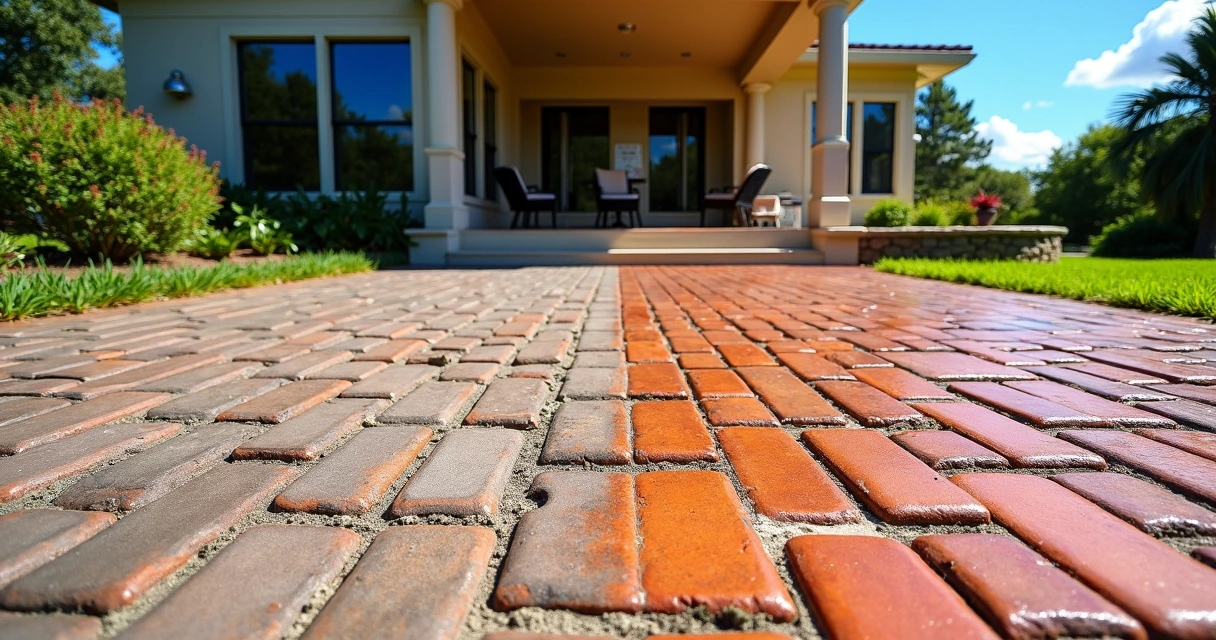
Final check: Is your surface ready for sealer?
Before we break out the sealer, we always do one last inspection:
- No loose bricks or low spots
- Joints are full and stable, sand is dry
- Surface is stain-free, dry, and free of residue
- No plant debris or windblown dirt
This last check ensures your sealer will cure smoothly and deliver the expected benefit for years to come.
Best practices for lasting results
At GCM Best Services, our clients’ satisfaction comes from a mix of skill, attention to local climate, and long-term care.
- Don’t shortcut the prep—even if the surface looks “good enough,” extra cleaning and drying time pays off.
- Use a professional-grade sealer that’s aligned with the GSA’s recommended solids level, and fit for Florida’s heat and wet seasons.
- Plan for ongoing maintenance—re-clean, sweep, and top up joints as part of your routine care.
If drainage or erosion are ongoing problems, discover how effective drainage strategies can keep your pavers safe and dry.
What to expect after sealing
After sealing, allow curing time as suggested by the manufacturer—usually 24–48 hours for foot traffic, up to 72 hours for vehicles. Surface may look slightly darker or glossier, but should never feel sticky or tacky.
Well-sealed pavers resist stains, weeds, fading, and make cleaning much easier for seasons to come.
Summary and next steps
Preparing brick pavers for new sealer is all about care, patience, and a systematic approach. Start with a thorough inspection, address weeds and damage, pressure wash, remove the old sealer, restore joint sand, and ensure everything is dry before sealing. When you invest in the prep, you secure years of color and protection—and stunning curb appeal.
If you want the confidence of a professional finish and a written warranty, our team at GCM Best Services is here for all your brick and driveway patio paving needs. We bring clear communication, photos along the way, and an approach that always puts your investment first.
Are you ready to protect and beautify your brick pavers for years to come? Schedule your no-obligation assessment with us today. Our team delivers trusted results for homes and businesses in Orlando, Tampa, and the Central Florida area.
Ready for a professional quote? 📞 (407) 250-1948 • 24–48h • Orlando, Tampa & area.
Frequently asked questions about prepping and sealing brick pavers
How to clean brick pavers before sealing?
Start by removing loose leaves, dirt, and debris with a broom or leaf blower. Next, pressure wash using a rotary surface cleaner to lift dirt, algae, and any remaining residues. For stains, apply an appropriate paver-safe cleaner (for example, degreaser for oil or rust remover for rust stains), scrub gently, and rinse well. Let everything dry fully before moving to the next step.
Do I need to remove old sealer first?
Yes, if the old sealer shows signs of flaking, haziness, yellowing, or uneven shine, it should be stripped before applying new. New sealer won’t properly bond on a poorly prepped or sealed surface. Use the correct paver-safe stripper and gentle mechanical scrubbing, then rinse and let it dry thoroughly.
What tools do I need for prep?
You’ll need a sturdy broom, leaf blower, pressure washer (ideally with a rotary surface wand), garden hose, scrub brush, and safety gear (gloves, goggles). A paver-safe cleaning solution for stains, a paint roller or sprayer for applying sealer, and a joint sand topping kit are also recommended. If removing old sealer, have a chemical stripper and stiff brush handy. For more complex repairs or preparation, professional equipment can help.
How long to wait after washing pavers?
You should wait a minimum of 24–48 hours after washing pavers before sealing, depending on local humidity and sunlight. All surfaces and joints must be completely dry to prevent hazing or whitening. In humid or shaded areas, extra drying time may be needed. Always perform a touch test or use a moisture meter if unsure.
Is it worth it to seal brick pavers?
Yes, sealing brick pavers makes a difference in durability, appearance, and stain resistance, especially in climates like Central Florida. Sealed pavers are easier to clean, resist color fading, and minimize weed growth and joint erosion. Resealing every few years and maintaining joints will protect your investment and keep your outdoor space looking its best.