Primary keyword: curved paver patterns
- Installing curved paver designs
- Curved paver layout guide
- How to lay pavers in curves
Audience: Homeowners and business owners in Central Florida who want to add creative flair and durability to their outdoor spaces without settling for basic straight lines.
Pain/Benefit: You want a unique patio, walkway, or driveway that stands out and resists Florida’s challenges—curved paver patterns create striking effects while promoting drainage and lasting stability.
Summary: Laying curved paver patterns isn’t just visually appealing—it helps manage water flow and gives hardscapes a high-end, custom look. In this detailed guide, we walk through every stage, from planning your layout, prepping a solid sub-base, placing edging, cutting pavers, and grouting, to troubleshooting common issues. By the end, you’ll know how to transform ordinary spaces into truly eye-catching features, and why working with GCM Best Services can deliver on both creative vision and functional durability.
- Why choose curved paver patterns
- Planning your design
- Preparing the site and sub-base
- Marking and setting curves
- Laying pavers through curves
- Cutting and fitting for a smooth edge
- Finishing details and maintenance
- Common pitfalls and troubleshooting
- Conclusion
- FAQ
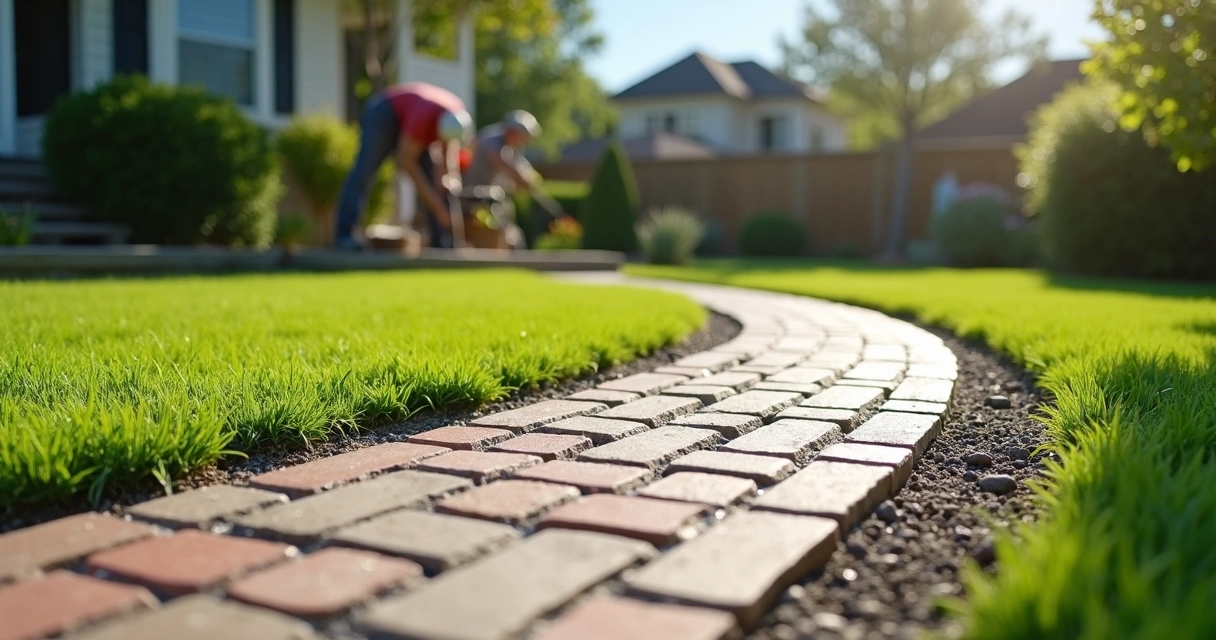
Why curved paver patterns work so well in Central Florida
If you live in Orlando or throughout Central Florida, you know our landscapes are rarely straight. Curving beds, winding walkways beneath palms, meandering patios around pools—nature and architecture here thrive on flowing lines. That’s why curved paver patterns aren’t just about appearance, but also about fitting into the natural rhythms of your yard or commercial property.
“Curves bring motion and harmony where straight edges can’t.”
Beyond looking beautiful, curves can help guide water away from foundations, highlight landscape features, and break up large areas for a more inviting feel. At GCM Best Services, we’ve helped clients transform everything from backyard patios to grand driveways using these flowing designs. The results are eye-catching and practical—perfect for Florida’s climate and style.
Planning your curved paver layout: getting started on the right foot
The right plan is everything. Rushing into a curved project without a clear design can quickly lead to wasted materials, drainage headaches, and awkward patterns. Instead, we recommend spending extra time on the following:
Choosing your paver style, color, and size
Some pavers are easier to install in curves than others. For tight arcs or circular patios, smaller interlocking pavers work best—each adjusts slightly to fit smooth lines. Larger rectangles or slabs require extra cutting and experience.
Select light or multi-tone colors to soften transitions and disguise slight size variations along curves. Always check with your HOA and local codes for any material restrictions.
Mapping the curve with rope, hose, or chalk lines
Visualizing your layout is a must. We often use:
- Garden hoses for broad, graceful arcs
- Flexible PVC piping to preview tighter curves
- Marking paint or chalk along the intended edge, so you can step back and assess from various angles
Measure both edges of walkways or patios and ensure your width stays consistent around bends. On-site adjustments now will save major corrections later.
Learn more about choosing paver types for driveways and patios.
Deciding on the pattern
The most popular curved layouts include:
- Running bond (bricks offset like subway tiles)
- Herringbone at 45° or 90° (great stability)
- Fan or radial (concentric circles)
- Random or “crazy” paving for rustic paths
Herringbone and fan patterns are especially strong under foot or wheel—ideal for driveways (as Iowa State University Extension and Outreach recommends, using pavers at least 2.375 inches thick for pedestrians and 3.125 inches for cars).
Preparing the site and sub-base for success
No matter how beautiful your pattern, it’s only as good as what’s underneath. We’ve seen projects fail because sub-bases weren’t properly installed. In Florida’s sandy, shifting soils, this step is doubly important. At GCM Best Services, our process always includes:
- Excavating to the right depth: 6–8 inches of compacted base for patios and walkways, more for driveways
- Sloping sub-base away from structures (about 2% grade) for drainage
- Tamping base materials (crushed stone, not sand) in layers for load support
- Installing geotextile fabric if needed to stabilize soft or wet soils
- Setting a final bedding layer (usually 1 inch of sharp sand or fine screenings) above the compacted base
This approach prevents settling, ponding, and weeds. We further detail these steps in our article about drainage solutions for paver installations.
Marking and setting curves: the key to a natural flow
Here’s where artistry meets engineering. Marking smooth, repeatable curves isn’t something to improvise; it takes patience and the right tools.
Using layout lines and templates
For walkways, we often stake both edges and use rope or garden hoses to set the intended arc. Paint or chalk marks create visible lines for both the inside and outside of the curve—this way, your paver field stays consistent in width and flow.
On patios, especially circular or kidney shapes, try this trick: Anchor one end of a tape measure at the patio center. Rotate it to mark the desired radius at several points, then connect the dots in a smooth arc. This works well for fan patterns and round fire pit areas too.
Setting flexible edging
The right paver edge restraint holds curves tightly and supports traffic. We recommend:
- Flexible plastic or aluminum edging for gentle and moderate curves
- Short paver “sailors” (rows of bricks set vertically) for tighter radii, often seen in borders
Good restraint means your pavers won’t creep or lose their shape over time.
At this stage, double-check curve smoothness. Stand back and look at your lines from all directions. Adjust or re-pin where needed before you pour or spread your bedding layer.
Laying pavers through curves: fitting the field
Now the fun—and detail work—begins. To build a professional-looking curved pattern, follow these placement tips:
Starting at the longest arc or most visible edge
Lay your first row of pavers along the preferred curve (not a perfectly straight baseline). Each unit should lightly touch its neighbor, following the arc—avoid forcing them into sharp bends, which creates gaps.
Occasionally, you’ll need to slightly fan out pavers on the curve’s outside and squeeze them closer on the inside; this creates a gentle, natural look instead of obvious “steps.”
Staggering joints for durability
Whether you’re building a patio with running bond or a driveway in herringbone, offset each row so no straight lines form across the width. This interlocks the field and spreads out pressure, which helps prevent settling and cracking—an approach also highlighted in the studies from Iowa State University Extension and Outreach.
Filling gaps as you curve
It’s natural for angled cuts to appear where pavers meet the border or edge. For a seamless visual effect, use half-pavers or cut units at the right angle to fill the space. Save larger cuts for less visible areas—for example, behind shrubs or along fence lines.
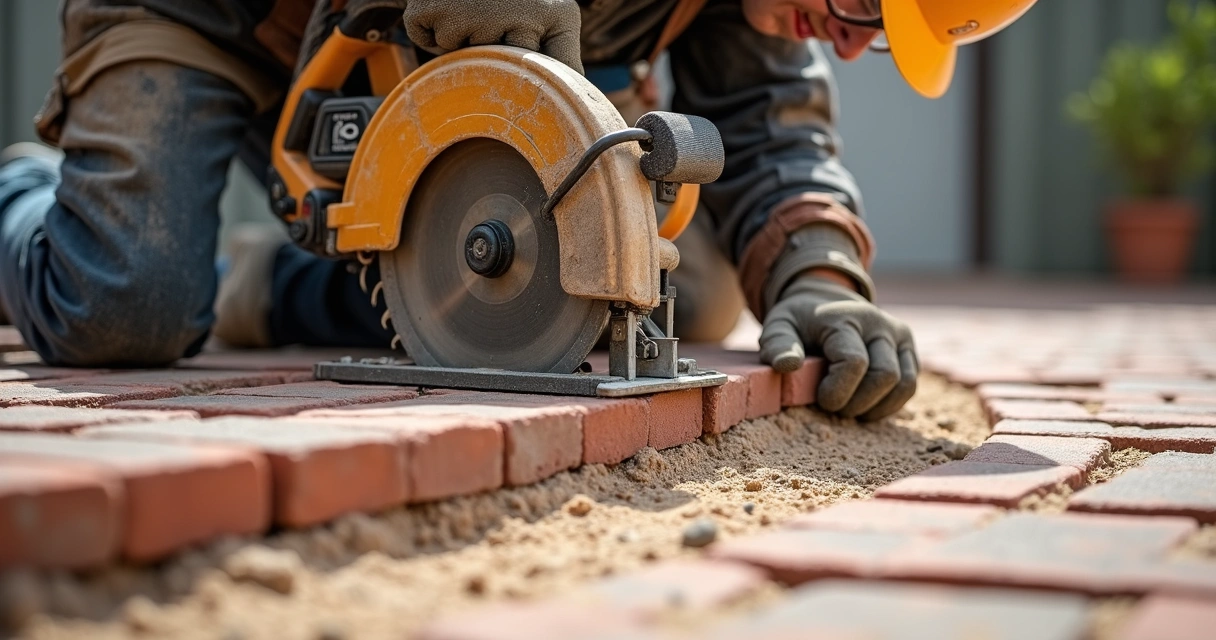
How to cut and fit pavers for clean curves
Cutting is often the step homeowners find most intimidating. We bring this advice from years of experience:
- Use a masonry saw with a diamond blade for straight, clean edges—wet saws minimize dust and overheating
- Always mark the cutline on the paver with a pencil and ruler or template
- Make test cuts on spare pavers before cutting final pieces for the visible border
- If renting saws, follow all safety instructions: gloves, goggles, and masks
- For tight radii, cut pavers in pie-shaped “wedges” to prevent large gaps
Gaps larger than a quarter-inch invite shifting and weeds; aim for tight joints to maximize both stability and appearance. More advice on keeping weeds at bay is available in our article on weed prevention between pavers.
For intricate circles or spiral features, we sometimes craft custom templates—or use flexible metal strips clamped in place—so every cut is consistent from start to finish.
Finishing touches: grouting, cleaning, and sealing
Once the paver field is set and border pieces cut tightly, finish the job with care:
Sweeping in joint sand
Sweep kiln-dried jointing sand or polymeric sand into every joint to lock pavers in place. Polymeric varieties offer extra resistance to erosion and weed growth.
Compacting the field
Use a plate compactor made for hardscape work. A padded base prevents scuffing decorative finishes. Compact once before sweeping sand and again after, until joints stop settling.
Sealing the surface
In Florida’s humid climate, a breathable, UV-stable sealer helps hold joint sand, preserve color, and resist mold. Wait until all surfaces are thoroughly dry—usually a day or two of clear weather.
For more about long-term care and getting the most life from your hardscape, see our overview of what goes into a professional brick paver installation.
Common mistakes to avoid with curved paver patterns
Nobody wants to redo work or end up with wavy lines. Here are the oversights we’ve seen most often—and how to prevent them:
- Ignoring base slope: Without slope, curves pool water instead of draining it. Maintain a 2% grade away from any structure.
- Poor restraint: Skip cheap or inflexible edging—pavers can push outward and lose their shape over time.
- Too little cutting: Relying on “shifting gaps” rather than making tight, careful cuts leaves edges ragged and prone to weed growth.
- Mixing paver sizes randomly: This can confuse the eye and disrupt flow, unless aiming for a specific “random” look.
- Forgetting expansion joints on large installations: Especially vital in Florida’s heat to prevent buckling or heaving.
For more practical advice and creative outdoor improvement ideas, our hardscape resource page is a valuable reference for Central Florida property owners.
Looking ahead: maintenance and upgrades
Curved paver installations are made to last, but even the best designs benefit from regular attention. At GCM Best Services, we recommend:
- Annual checks for uneven settling or displaced edging
- Periodic re-application of polymeric sand
- Prompt repair of any cracked or loose pavers—especially in heavy traffic zones
- Pressure washing as needed, always with care to avoid blasting out the joint sand
For those thinking of upgrading with new lighting, integrated flower beds, or surrounding artificial turf, curved paver lines help soften transitions between different materials and features.
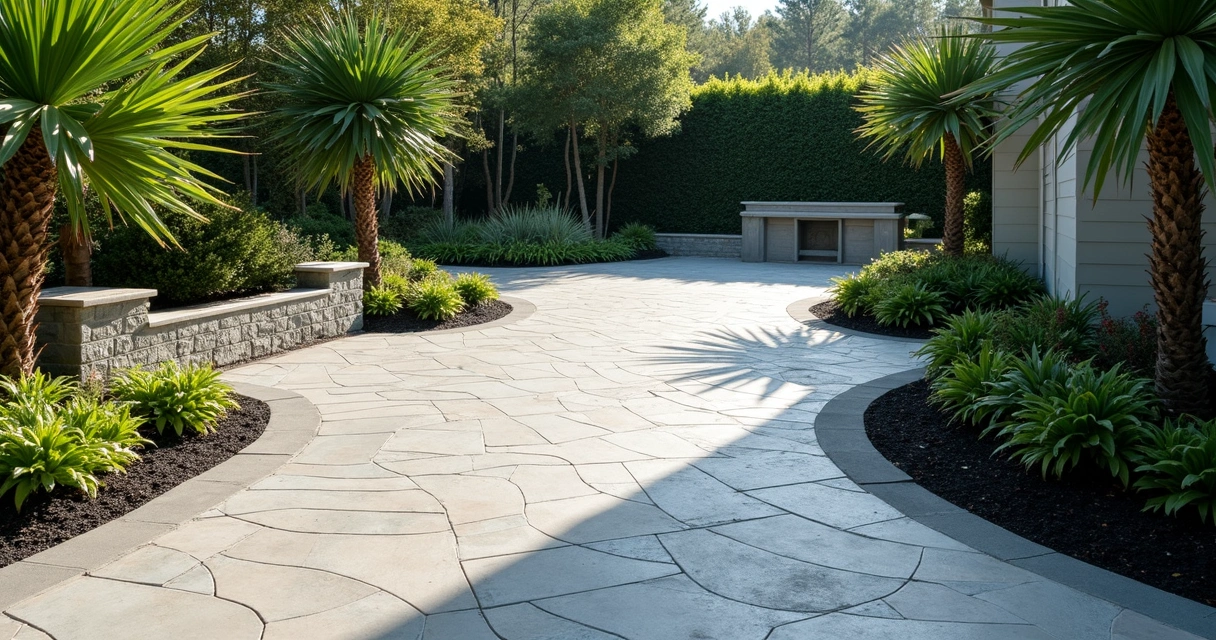
Conclusion: Enjoy the curve—bring artistry and performance to your landscape
Curved paver patterns, when planned and installed with care, create landscapes that are beautiful, durable, and fitted to the distinctive environment of Central Florida. The sweeping arcs and organic lines work with both architecture and nature. They support water flow, make outdoor areas welcoming, and offer a lasting return for your investment.
With GCM Best Services, our commitment is to combine expert design with sound construction principles. From the first layout line to the last piece swept clean, we help you achieve outdoor spaces that truly fit your life—today and for years to come.
Ready to see your vision come to life? Start with a no-obligation site visit and let us recommend the perfect curved paver solution for your property. We are here for Orlando, Tampa, and the Central Florida region.
Ready for a professional quote? 📞 (407) 250-1948 • 24–48h • Orlando, Tampa & area.
Frequently asked questions
What is a curved paver pattern?
A curved paver pattern is an arrangement of brick or concrete pavers that follows gentle arcs, circles, or irregular flowing lines instead of straight edges. These designs can include curved walkways, rounded patios, or meandering driveways. Curved patterns add a natural, custom look to landscapes and can help guide foot traffic and water runoff. They are especially effective in gardens, pool decks, and around planting beds, reflecting the organic shapes found in nature.
How to mark curves before laying pavers?
Before installing pavers, use flexible materials to lay out your intended curve. Common techniques include placing a garden hose along the desired path or using flexible PVC pipes to visualize the arc. Stake both edges and use marking spray, chalk lines, or string to define the precise shape. For circular features, anchor a tape at the center and mark multiple points at the design radius, then connect those points smoothly. Taking time to refine your layout ensures a smooth, consistent curve that translates well when you lay pavers.
What tools are needed for curved patterns?
Tools for installing curved paver patterns include:
- Garden hose or flexible pipe (for marking curves)
- Measuring tape and stakes (for layout and radius setting)
- Flexible edging restraints (plastic or aluminum)
- Plate compactor (for base and final surface compaction)
- Masonry saw or angle grinder with a diamond blade (for precise cutting)
- Chalk line, marking paint, and safety gear (goggles, gloves, mask)
- Standard hardscape tools: shovel, rake, tamper, jointing sand broom
Safety equipment and proper measuring tools are especially important to achieve both accuracy and clean results with curved layouts.
Is it harder to lay curved pavers?
Installing curved paver patterns is more detailed than straight lines, mainly because of the measuring, cutting, and edge restraint involved. The process requires careful planning, flexible layout tools, and more frequent cutting to ensure tidy edges and even spacing. However, with patience and persistence—and the right advice or professional support from specialists like GCM Best Services—the final result is well worth the extra effort, offering unique beauty and better adaptation to irregular spaces.
How do I cut pavers for curves?
To fit pavers neatly along a curved edge, mark each unit carefully before cutting. Use a ruler or template to make sure cuts follow the desired contour. Work with a masonry saw or angle grinder fitted with a diamond blade for straight, smooth cuts. When handling tight radii, cut “pie-shaped” wedges so pavers fit closely without large gaps. Remember to wear safety glasses, dust masks, and gloves during all cutting operations, and make test cuts on scrap pieces to refine your fit.