If you own property in a Central Florida community with a homeowners association, there is a good chance that you’ll need to navigate HOA inspections for outdoor upgrades like brick pavers or artificial turf. These inspections can seem intimidating, especially if it is your first time dealing with HOA rules. Over the years, we’ve helped hundreds of homeowners through the process at GCM Best Services, guiding them from the proposal stage all the way to final sign-off and ongoing maintenance.
In this article, we will explain what HOA inspections for pavers and turf usually involve, why they’re necessary, and how to prepare so your project gets approved the first time. With clear steps and practical advice, our goal is to make the inspection process as stress-free as possible for Orlando and Central Florida residents.
“Preparation is the key to a worry-free HOA inspection.”
Table of contents
- Why HOA inspections for pavers and turf exist
- What to do before your inspection
- The HOA approval application process for pavers
- What makes turf inspections unique?
- Common HOA inspection criteria for pavers and turf
- What happens during the actual inspection?
- How to handle corrections or a failed inspection
- Common mistakes and how to avoid them
- Tips to make your HOA inspection smoother
- Conclusion: Success is in the details
- Frequently asked questions
Why HOA inspections for pavers and turf exist
Homeowners associations play a significant role in many Florida neighborhoods. Their job is to manage shared spaces, uphold property values, and keep a consistent community appearance. This includes enforcing rules, often called covenants, conditions, and restrictions (CC&Rs), regarding architectural changes, landscaping, and hardscaping like pavers and turf.
When a resident wants to install, replace, or modify pavers or turf, the HOA will likely require submission of plans and completion of an inspection once work is done. HOA inspections protect the community aesthetic, ensure safety, and confirm work complies with association standards and, sometimes, municipal codes. If you have seen driveways or lawns looking out of place or causing drainage troubles, odds are these didn’t go through an effective inspection process.
Central Florida can present unique challenges, from heavy summer rain to soils that shift over time. That means the work needs to stand up to the local elements, and drainage must be handled properly. Based on our experience at GCM Best Services, a thorough inspection helps avoid costly repairs and keeps long-term maintenance manageable for everyone.
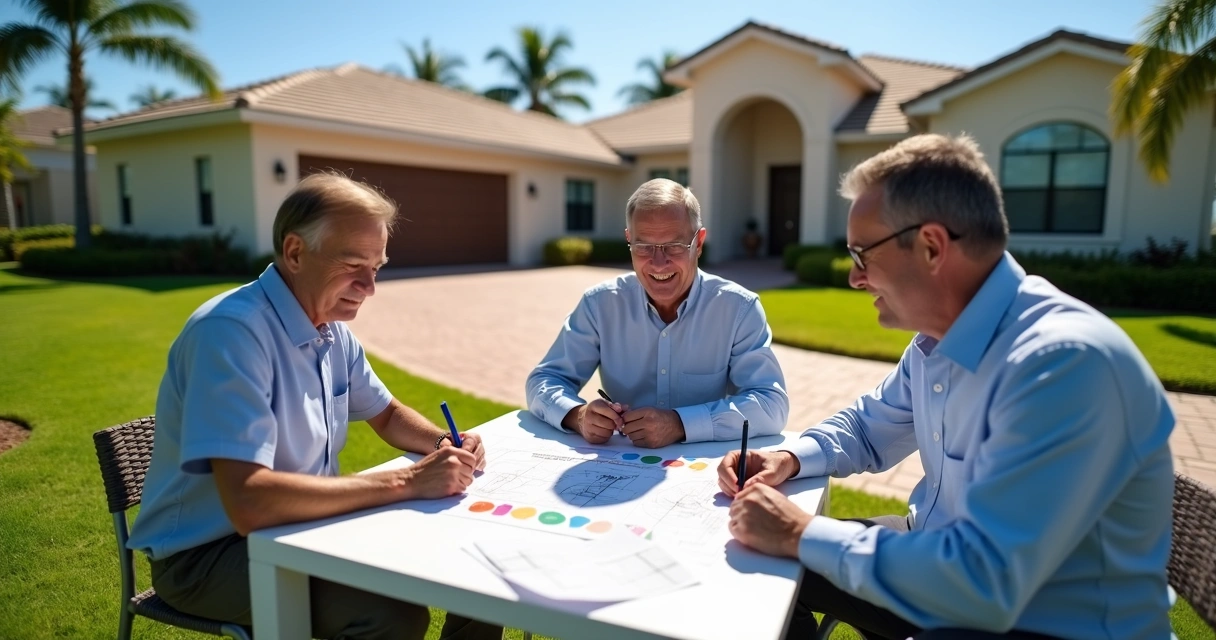
What to do before your inspection
Preparation is more than half the battle. From our work with HOA boards and property managers, we have seen firsthand how much easier things are for homeowners who start with the right documents and a clear plan. Here are the most important steps, based on our process at GCM Best Services:
- Obtain the latest copy of your HOA’s CC&Rs and any specific guidelines about outdoor paving or turf. Every HOA is a little different—what’s allowed in one neighborhood might be forbidden in another.
- Prepare drawings or diagrams of your planned project, including materials, colors, dimensions, and how the space will look from the street. If you’re adding pavers, show where water will flow and any existing drainage features.
- Many HOAs require submitting an Architectural Review Committee (ARC) application, sometimes online, other times in paper. Complete their specific form and attach your plans and photos of the existing area.
- For artificial turf, you may need details on the infill type, drainage properties, manufacturer’s specifications, and a sample of the turf. Policies for artificial turf are becoming more common, as seen in the City of Clearwater’s guidance on artificial turf installation and restrictions.
- If permits are required by your municipality, begin the permitting process at the same time as your HOA application. Parallel processing saves time.
Once your application is submitted, the ARC or architectural committee will review it. They may approve, deny, or request clarification. When approval is granted and you complete the project, a post-installation inspection will be scheduled.
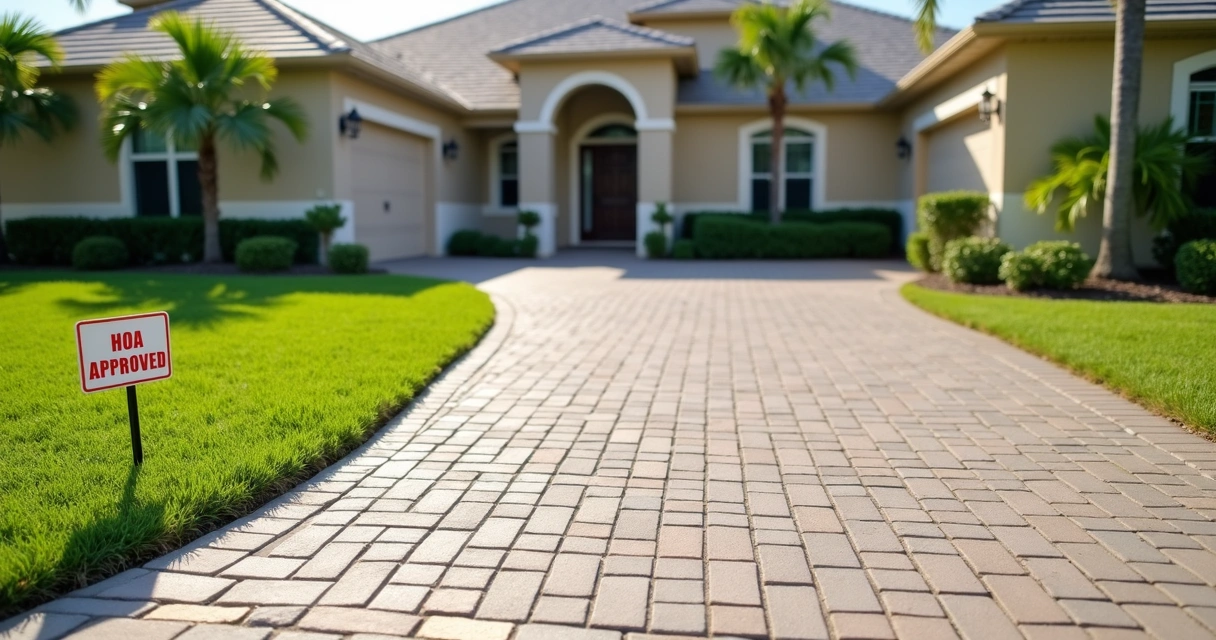
The HOA approval application process for pavers
Based on our knowledge of Central Florida HOAs, the paver approval process tends to follow a predictable pattern. Here’s what we often see:
- Submit your detailed site plan, showing the exact area for pavers and the relation to house, sidewalk, and property lines.
- List all materials—brand, color, texture (some HOAs require specific colors for pavers to preserve neighborhood harmony).
- Show edge restraints and how you plan to control weed growth and protect adjacent turf. You may find helpful info in our article addressing how to prevent weeds from growing between pavers.
- Drainage details are almost always required. Excess water can damage both your yard and your neighbor’s. See our guide on effective drainage for paver installations for more info.
- Include before and after photos or renderings for visual comparison.
- Any lighting or adjacent landscaping changes must be shown; these are as likely to be reviewed as the hardscape itself.
If you’re replacing an old driveway, be prepared to provide removal plans and the schedule. Good communication with your HOA manager or ARC chairperson will often speed up the review.
Once you’ve been given the green light, build as per your approved drawings—any deviation could risk rejection during the post-installation inspection.
What makes turf inspections unique?
Artificial turf installations have grown in popularity, especially for busy families and those who want a manicured look with less watering. However, HOA guidelines can be very specific about where turf can go, what it should look like, and how it’s maintained. Certain cities, such as Clearwater, even restrict turf in areas like rights-of-way and drainage features, as found in their recent ordinance and guidance for turf permits (City of Clearwater’s artificial turf ordinance).
Here’s how artificial turf inspections usually stand out from paver checks:
- HOAs often require that you submit a sample of the turf product—texture, color, pile height, and UV resistance are verified against standards.
- Drainage is a primary concern. You may need to show that the turf is installed over a permeable, stabilized base and that stormwater will not collect or run onto neighboring properties.
- Turf edges, seams, and any dyed striping (for example, for sports areas) get close scrutiny. Unstable seams or raised edges won’t pass inspection.
- Some HOAs require turf to be buffered by natural plantings or paver borders, maintaining the community look.
Our team at GCM Best Services always ensures we use UV-stabilized fibers, infill designed for drainage, and professional installation methods that comply not only with HOA rules but also local codes where applicable. You can learn more about our approach on our artificial turf service page.
Common HOA inspection criteria for pavers and turf
HOA inspections look for more than just appearance—they review how the installation works and fits into the community’s vision. While every neighborhood can have unique requirements, here’s what is most often checked:
- Finished work must match what was submitted in plans; color, pattern, and limits must be identical.
- Pavers or turf cannot interfere with proper drainage or create hazards for pedestrians or vehicles.
- Joints and seams must be secure—loose pavers or exposed turf seams can create safety issues.
- All edges should be neat, straight, and restrained properly to prevent shifting or peeling.
- For turf, infill must not spill onto adjacent sidewalks or driveways.
- The installation must respect property lines, public easements, and setbacks (inspectors may measure as part of their assessment).
On occasion, inspectors look for hidden defects. For example, a common error is to lay artificial turf on an unstable or non-permeable base—this leads to water pooling and compaction. Proper base installation is a core part of our work at GCM Best Services, reflecting guidelines highlighted by municipalities and recommended best practices in the industry.
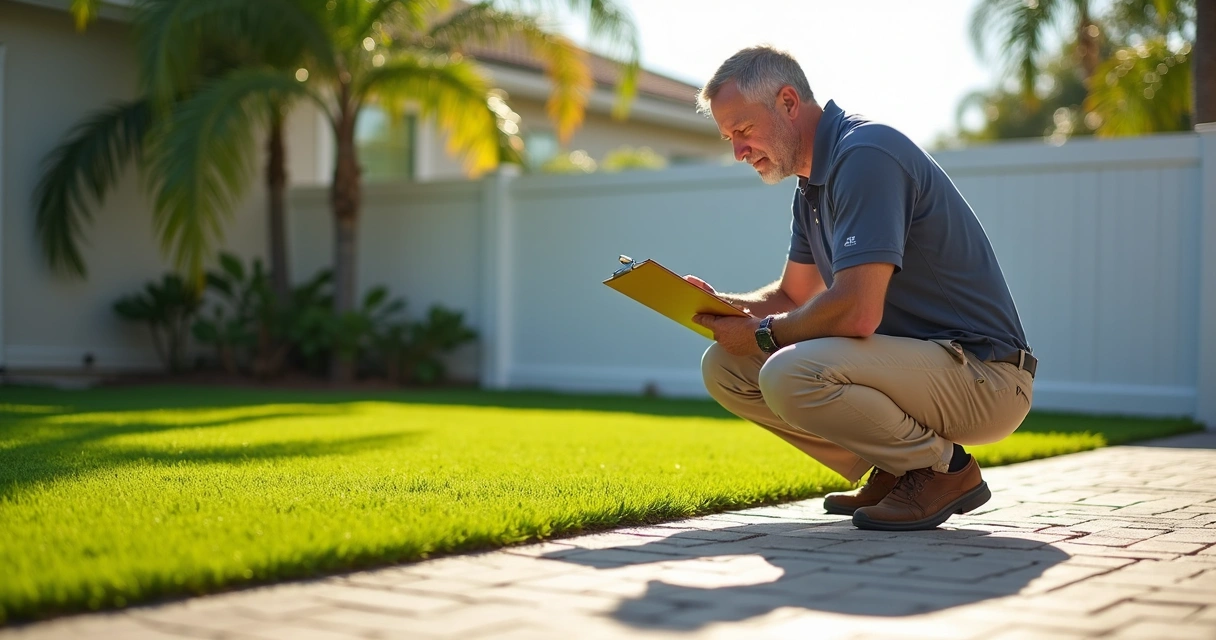
What happens during the actual inspection?
On the day of your HOA inspection, expect a representative from the ARC or management company to walk the property. Sometimes, two or three people attend, especially if a large project is being reviewed. Typically, you do not need to be present, but we always recommend being available if questions arise.
The inspector will have your approved plans and compare the completed work with what was agreed upon. Their checklist often includes these steps:
- Visual inspection for material, color, and finish quality.
- Measurement of bounded areas, setbacks from property lines, and any required buffers.
- Checking for visible drainage concerns, ponding, or runoff.
- Verifying safety (even paver joints, flush finishes, and stable turf).
- Reviewing all edge restraints, border details, and transition areas.
- Confirming compliance with material specifications (for instance, high PSI concrete for slab pavers or UV-stabilized turf fibers).
If everything passes, you will receive written notice of approval, often within a few days. If corrections are needed, the committee will outline specific items to address. Sometimes, only photos are required for re-inspection; other times, a second visit is scheduled.
How to handle corrections or a failed inspection
No one wants to hear that their new driveway or lawn didn’t pass inspection, but it happens from time to time. The good news is that most HOA committees provide clear notes on what must be fixed and why. Corrections might include re-grading to improve drainage, adding or repairing edge restraints, or swapping out a non-permitted material.
When we handle corrections at GCM Best Services, we follow these steps:
- Read through the inspection feedback line by line.
- Prioritize items by compliance—start with safety and drainage, then move to aesthetic tweaks.
- Take clear before and after photos for your records.
- Communicate with the HOA contact promptly, sharing your plan for corrections.
- Schedule re-inspection as soon as corrections are complete.
If a request seems unreasonable or unclear, you can ask for clarification or, in rare cases, appeal. It helps to reference your original approval documents and the community guidelines throughout.
Common mistakes and how to avoid them
Based on hundreds of successful projects, we’ve noticed a few recurring errors that can hold up HOA sign-off. Here are ways to sidestep them:
- Not reading the HOA’s current guidelines carefully; rules change, especially with artificial turf.
- Cutting corners on site preparation, especially base compaction for both pavers and turf.
- Failing to show drainage solutions or assuming “the city will handle it”—HOAs expect you to show that water won’t run onto the sidewalk or a neighbor’s yard.
- Using non-approved materials, such as the wrong paver color or turf that is too shiny or doesn’t have pet-friendly infill.
- Ignoring property lines—installers sometimes go a few inches over the line, which can create years of headaches.
“Attention to detail turns inspections into approvals.”
If you want to learn more about site prep and design, our driveway and patio paving page has helpful examples of successful projects.
Tips to make your HOA inspection smoother
We believe every homeowner can succeed with the right preparation. Here is how we guide our clients for the best possible inspection outcome:
- Build to plan. Deviate only if approved by the HOA (get written clarification if needed).
- Take high-quality progress photos as you go; these help if questions come up.
- Keep all correspondence and documents in a single folder for quick access.
- Double-check material specifications before ordering, especially if you’re in a larger development with strict appearance rules.
- Schedule work with weather in mind—unexpected rain can delay both installation and inspections in Central Florida.
- Always ask your contractor to be present or on-call during inspection, just in case technical questions arise.
- For turf, ask about base installation, infill choices, and seam treatments before work begins. More info at our hardscape solutions page.
Conclusion: Success is in the details
Homeowners who start with clear plans, follow their HOA’s guidelines, and communicate openly have the best outcomes. At GCM Best Services, we handle HOA inspections for pavers and turf as part of our turnkey approach, from site assessment and product selection through permit and inspection management. Our team knows what local boards expect and how to help you pass the first time—saving you time, money, and frustration.
If you are ready to upgrade your outdoor space with brick pavers or artificial turf while staying in full compliance, contact us to schedule a free, no-obligation assessment. See for yourself why we are trusted by Central Florida homeowners who want quality, style, and peace of mind.
Ready for a professional quote? 📞 (407) 250-1948 • 24–48h • Orlando, Tampa & area.
Frequently asked questions
What is an HOA inspection for pavers?
An HOA inspection for pavers is a formal review by the homeowners association to make sure your newly installed (or updated) brick, concrete, or stone pavers meet the community’s appearance, quality, and safety standards. Inspectors check that materials, layout, and drainage align with what was approved in your application and with the rules outlined in your HOA documents. Any deviations or unsafe features must be corrected to receive final approval.
How to prepare for turf inspection?
Preparation starts with reading your HOA’s guidance on artificial turf installation, outlining permissible areas, turf types, and maintenance requirements. Submit clear plans, including product details, base specs, and how you intend to manage drainage and edge transitions. Many HOAs will also want a sample piece of the turf and proof that the product meets UV and safety standards.
What are common inspection requirements for turf?
Common requirements include:
- Drainage: Turf must be installed over a base that allows quick water penetration and runoff, avoiding puddling.
- Finish: The surface should be level, well-stretched, and have tightly finished seams and edges.
- Product specifications: UV-resistant fibers, proper infill, and color that matches community standards are often mandatory.
- Edges: All turf edges should be properly restrained and not fraying into walkways or driveways.
- Maintenance: You may need to show you can keep it clean and weed-free for the long term.
How much do HOA inspections cost?
Most HOAs include inspection fees in the general approval process or application cost, ranging from $25 to $200 depending on your association, project size, and whether follow-up visits are required. Some communities do not charge a separate fee for simple inspections, while more complex projects or repeat visits may incur an extra fee. Always check with your HOA or management company before applying.
Can I fail an HOA inspection?
Yes, it is possible to fail an HOA inspection if your pavers or turf do not match what was approved, if there are issues with safety, drainage, or aesthetics, or if the installation encroaches on property lines or easements. If you do not pass, the HOA will give you a list of corrections and an opportunity to fix the issues for re-inspection. Most failed inspections are resolved with good communication and quick action.