Painting outdoor brick surfaces can dramatically improve the look of a home or business, but it’s a job where shortcuts or common errors can quickly lead to frustration. At GCM Best Services, we’ve handled a wide range of exterior painting projects across Central Florida, and we know that avoiding a few key mistakes can save property owners time, money, and disappointment. Many are surprised by how much science and planning is behind a lasting, attractive brick paint job. We’re here to help our community make smart choices and avoid the setbacks we’ve seen over the years.
This guide discusses six of the most frequent—and most costly—mistakes made when painting outdoor brick surfaces. We include real-world examples, regional advice specific to Orlando and neighboring areas, and professional tips drawn from our experience at GCM Best Services. Whether you’re planning to paint yourself or hire a contractor, keep these pitfalls in mind for a better result.
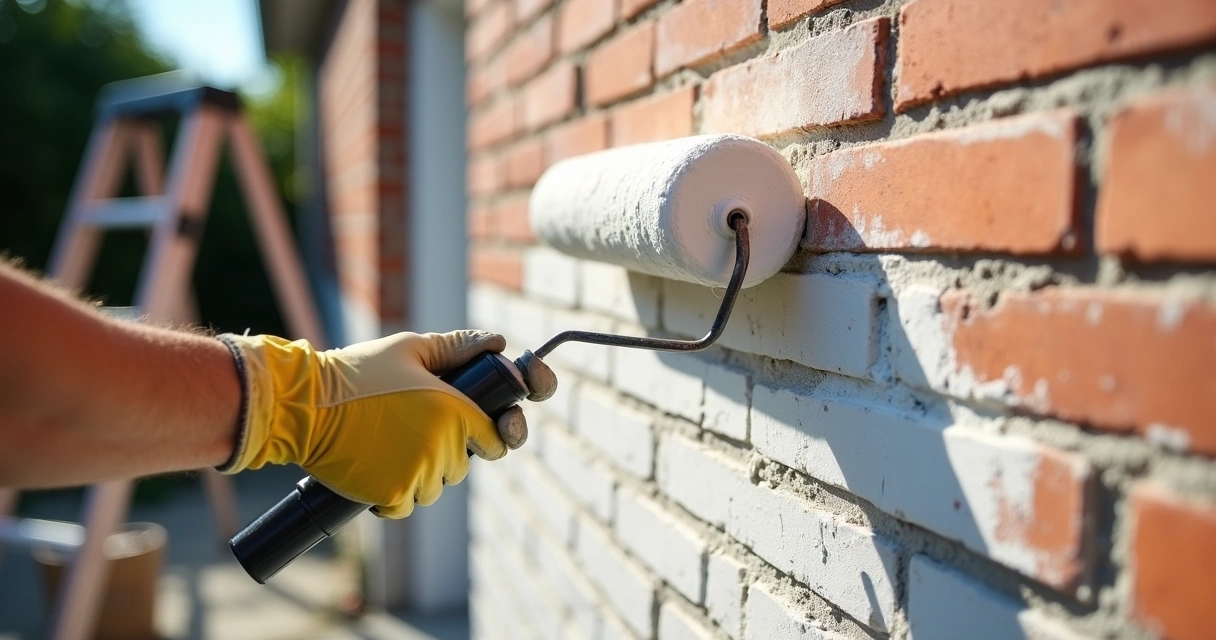
Painting brick is about protection as much as color.

Why painting outdoor brick is different in Central Florida
Central Florida homeowners and businesses face some distinct challenges. Intense sunlight, high humidity, heavy seasonal rains, and the occasional tropical storm all take their toll on building exteriors. That means paint for brick must be chosen and applied with special care. At GCM Best Services, we’ve found that the sub-tropical climate here exposes brick surfaces to relentless expansion and contraction cycles, rapid algae and mildew growth, and punishing UV exposure that can degrade finishes if mistakes are made during painting. This makes it essential to understand not just how to paint, but which methods work best for our conditions.
If you’re considering tackling a brick painting job or seeking out a professional, here are the six mistakes we always look to prevent. Each can undermine your investment, and we want you to have the facts so you avoid them, too.
Mistake #1: Skipping proper cleaning and surface preparation
Not all dirt is visible, and the consequences of ignoring “invisible grime” can be profound. If a brick wall is covered in dust, grease, mildew, flaking paint, or even fine silt from wind-blown sand, paint simply will not bond well. Poor surface preparation is the single biggest cause of peeling and flaking paint on outdoor brick surfaces.
We always see dramatic differences when pressure-washing and allowing brick to dry before painting. In Central Florida, it’s typical to find algae or mold spores on shady walls; pressure-washing with a mild detergent, followed by thorough rinsing, makes all the difference. Removing efflorescence—the white powdery deposits caused by water moving through the brick—should never be skipped.
- Remove all flaking or peeling patches with a wire brush
- Address visible mildew with a bleach solution (always rinse well)
- Rinse soapy residues—don’t let cleaner dry on the surface
- Allow brick to dry out fully; sometimes this means waiting 48 hours in humid weather
The investment of time here is minor compared to repairs required if paint rejects a contaminated surface. Studies referenced by Purdue Extension highlight that moisture and surface contamination lead to early paint failure—these findings hold true for brick as well as wood. In our experience, nothing sabotages a paint job quicker than hurrying the prep.
Mistake #2: Neglecting repairs and ignoring mortar problems
It’s common to overlook small cracks or holes in bricks or mortar joints, especially when focused on the color of paint or trying to save time. Painting over damaged mortar or bricks is like placing a Band-Aid on a leaky pipe—it doesn’t solve the real issue and can cause paint to fail within months.
Moisture is a real threat to painted brick surfaces. Florida’s rainy season can drive water directly into cracks, then trap it beneath the paint layer, causing blistering or lifting. Repointing mortar (the careful process of grinding out and replacing bad mortar) takes a bit of extra effort but is vital to long-lasting outcomes. At GCM Best Services, we inspect closely for signs of soft mortar or failed caulking around windows, doors, and wall joints. If there are gaps, we fix them before painting begins.
- Fill hairline cracks with a paintable, high-quality exterior caulk
- Bigger voids in mortar should be repointed with a proper mortar mix
- Let repairs cure fully before even thinking about paint
This simple step can extend the life of your painted brick by years, especially in Florida climates where daily rain cycles are common and fast drainage design is needed to prevent future problems as we discuss in our guides on concrete maintenance.
Mistake #3: Using the wrong paint or skipping primer
Brick is porous. It behaves nothing like drywall or wood. It soaks in water, breathes out vapor, and expands and contracts with Florida’s relentless sun cycles. Selecting the right paint—and, when needed, a suitable primer—makes all the difference. Using interior paint, latex not designed for masonry, or skipping primer leads to chalky, faded, or even blistered surfaces within a season or two.
At GCM Best Services, we often see failed paint jobs where all-purpose paints or interior-grade acrylics were used for exteriors. In our region, premium-quality elastomeric coatings or high-build masonry paints are best. These products allow vapor to escape while shedding rainwater efficiently. They are engineered for both breathability and weather resistance, which is vital in the Orlando area.
- Use paints labeled “masonry,” “elastomeric,” or “100% acrylic exterior” for best results
- Apply a masonry sealer or block-filler primer on uncoated or previously unpainted brick
- Always follow the manufacturer’s drying times—rushing this can cause surface failures
If you are not sure which coating is right for your situation, consult a professional. Even seasoned DIYers sometimes overlook the difference in how brick soaks up paint, especially if the wall is exposed or weathered. And if you want to add decorative finishes, such as whitewashing or color stains (topics also relevant in our hardscaping and outdoor living solutions section), picking the correct base is essential for crisp and lasting results.
Mistake #4: Painting in the wrong weather conditions
Nature doesn’t always cooperate, especially in Central Florida. Many paint failures are blamed on the “paint” when the real culprit is poor weather during application. Painting outdoor brick when it’s too hot, too humid, too cold, or when rain is on the way is a recipe for blistering, bubbling, and rapid peeling.
- Paint only when temperatures are within the manufacturer’s recommended range (often 50 to 90°F)
- Avoid painting in direct afternoon sun—the brick can become much hotter than air temperature
- Watch the forecast closely for unexpected showers
- Humidity matters: Central Florida mornings may seem pleasant, but early dew or afternoon storms can extend drying times for hours
We’ve seen firsthand how paint applied under the wrong conditions never bonds fully, no matter how high quality the product is. Even subtle weather missteps can result in visible brush marks, color streaking, or paint that “skins over” on the surface but doesn’t cure underneath.
As a professional exterior contractor, we use digital moisture meters to determine when a surface is truly dry. This little step, backed up by scientific guidance from studies on paint adhesion and weather conditions, has saved many projects from failure. If you’re unsure, it’s always safer to wait than rush.
Mistake #5: Inadequate coverage and ignoring tough spots
Skipping a second coat or being impatient with brushwork is tempting, but short cuts show. In our years of work, we’ve seen how hasty single coats quickly fade, leaving a patchy or streaked appearance. Even if the wall “looks OK” at first, ultra-porous areas can soak up more paint than expected and reveal thin patches once the paint dries.
- Apply at least two full coats, allowing the first to cure as recommended by the manufacturer
- Back-brush or back-roll to get paint into all crevices
- Don’t brush lightly over mortar joints—these areas are prone to early failure without full coverage
The difference in appearance and protection is remarkable when coverage is even and thorough. We recommend using high-quality brushes or rollers that suit rough masonry textures, rather than relying only on sprayers, as it ensures a more consistent finish. If decorative patterns are involved, such as for landscaping walls or accent features, a second look after drying often reveals missed spots that are easy to touch up if caught early.
Where landscaping meets hardscaping, special attention is needed. Edges where turf, pavers and brick meet get extra wear and moisture. We designed our outdoor projects specifically with these transitions in mind, for both visual integrity and long-term function.
Mistake #6: Not planning for maintenance and re-coating
Bricks last for decades, but painted finishes are exposed to everything Central Florida’s weather can throw at them. No paint is set-and-forget when it comes to outdoor brick. Expect to review and potentially re-coat surfaces every 5 to 7 years—sometimes more frequently on sun-lashed south or west-facing walls.
Failing to budget for or schedule maintenance leads to flaking, fading, or water intrusion that requires larger (and costlier) repairs later. Set a recurring reminder to check painted brick yearly for:
- Peeling or bubbling paint—often a sign of moisture underneath
- Fading or chalkiness—ultraviolet light is relentless in Florida
- Cracked or open mortar joints—seal these immediately to preserve the finish
Regular cleaning, spot painting, and minor repairs extend the life and beauty of your brick. Protect landscaping and hardscaping transitions as well, as recommended in our hardscape and paver guides.
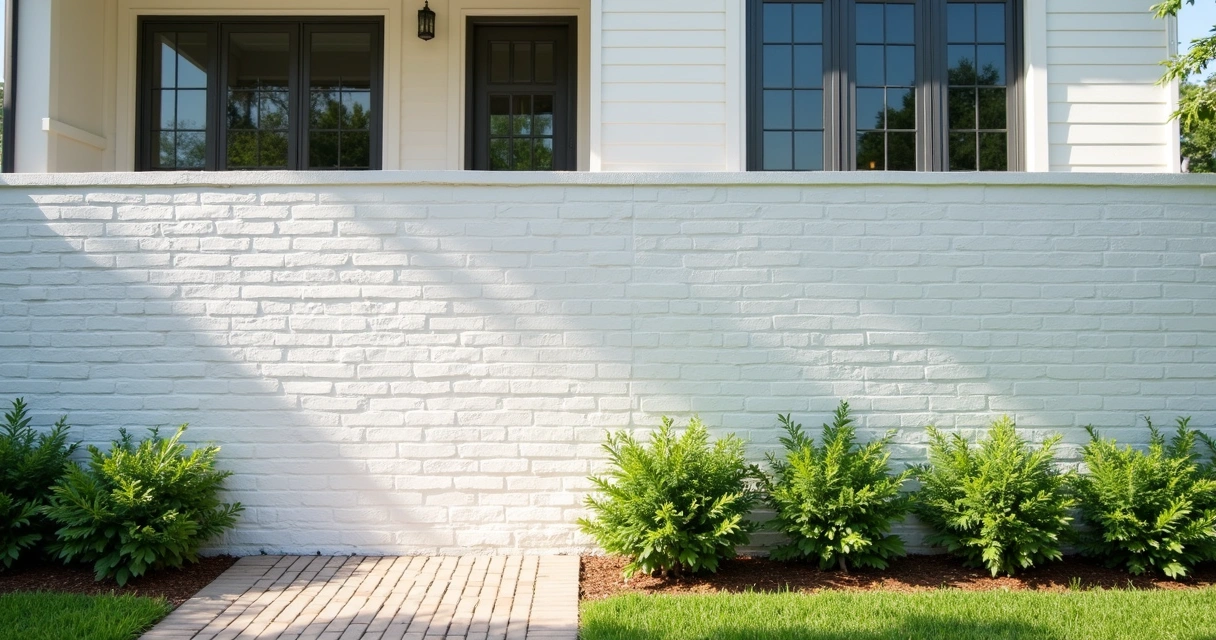
Paint is just one layer in a system designed for beauty and function.
Conclusion: our perspective on getting it right the first time
No matter how small or large your project, painting outdoor brick is an opportunity to enhance both the look and function of your property. At GCM Best Services, we’ve seen how skipping steps or hurrying for quick results can create costly setbacks. The six mistakes described here can undermine even the highest quality products, and that’s why careful planning, the right materials, and professional know-how matter in Central Florida’s challenging climate.
When every detail is handled—the cleaning, repairs, paint selection, weather awareness, coverage, and maintenance—you’re rewarded with a vibrant, durable finish that makes your building stand out for all the right reasons.
If you’re ready to discuss your exterior plans or want advice tailored to your home or business in the Orlando area, we encourage you to contact us for a no-obligation visit. Our experts at GCM Best Services can help you make the right decision for your specific needs.
Ready for a professional quote? 📞 (407) 250-1948 • 24–48h • Orlando, Tampa & area.
Frequently asked questions about painting outdoor brick
What paint is best for outdoor brick?
For exterior brick surfaces, the best paints are high-quality, 100% acrylic exterior paints, elastomeric coatings, or specialty masonry paints. These products provide both breathability and weather resistance required in Central Florida conditions. They allow trapped moisture to escape, helping reduce the risk of peeling or bubbling and protecting against harsh sun, wind, and rain. Always check that the paint specifically states it’s suitable for masonry or brick, and when in doubt, a masonry primer is a wise choice as a base layer.
How to prepare brick before painting?
Preparation is the foundation of a lasting paint job on brick surfaces. Start by pressure washing and scrubbing to remove dirt, dust, loose debris, and any patches of mold or mildew. Address all visible cracks or gaps in the mortar with a suitable exterior caulk or by repointing with new mortar where required. Remove any white efflorescence with a stiff brush. Let the wall dry out fully—usually 24–48 hours. Apply a masonry-specific primer if the surface has never been painted before or if there are repaired patches. This process ensures paint will adhere and last, especially in humid regions.
How often should I repaint outdoor brick?
Most outdoor brick needs repainting every 5 to 7 years, depending on exposure to sun, rain, and humidity levels. Walls facing south or west in Florida’s climate may require more frequent attention. Washing brick and performing touch-ups annually can prolong the life of the finish.
Can I paint over already painted brick?
Yes, you can paint over previously painted brick if the old finish is intact and not peeling. If you notice chipped, flaking, or chalky spots, these need to be scraped and sanded first. After cleaning and spot-priming bare patches, you can apply new coats using high-quality exterior masonry paint.
Is painting outdoor brick worth it?
Painting outdoor brick is often worth the effort for improved curb appeal, easier maintenance, and the added protection it can provide against the elements. For homeowners and businesses in Central Florida, the right paint can help reduce moisture intrusion and make surfaces easier to clean. However, it does require commitment to regular maintenance and periodic re-coating to sustain its appearance and function.
If you want to know more about hardscape solutions and exterior finishes, you can find advice and expert help at GCM Best Services or explore our content on choosing a concrete company in Orlando and hardscaping for Florida homes. We’re always here to guide you through the process and ensure you achieve results that last.