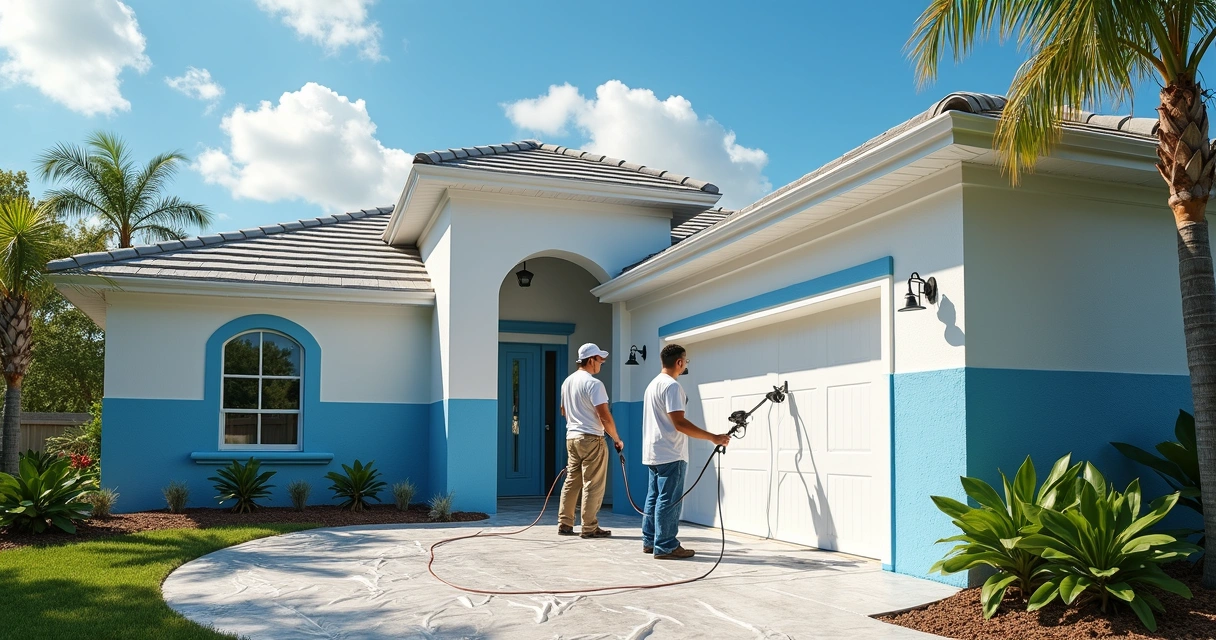
When it comes to painting exteriors in Florida, the process starts long before a drop of paint hits the wall. Surface preparation is the difference between a paint job that shines through years of sun, rain, and humidity—or one that peels within a season. At GCM Best Services, our experience across Central Florida has taught us: a thorough prep is the foundation for any successful exterior painting project.
This story isn’t just about paint. It’s about safeguarding your investment. Today, we’ll guide you step by step through surface preparation before exterior painting, using proven methods designed for Florida’s unique weather and building needs.
Why surface preparation matters in Florida
Florida’s climate is as beautiful as it is demanding for building materials. From sudden rainbursts to scorching sun, surfaces expand, contract, and endure cycles of high humidity. Paint alone, no matter its quality, can’t overcome the challenges if the underlying substrate isn’t ready.
Paint will only ever be as strong as the surface beneath it. Peeling, blistering, mold, and fading? We see these issues most often where surface prep was skipped or rushed. Starting the job properly means years of improved curb appeal, resistance to water, and lower ongoing maintenance.
What makes Florida surface prep different?
Each region brings its quirks, but Florida stands out. We deal with high humidity, strong UV, storms, and a near-constant season of mildew spores.
- Stucco and masonry dominate our exteriors. They wick moisture and develop hairline cracks that need real attention before coating.
- Wood trims and siding are common, but rot quickly in damp heat if not protected.
- Porous concrete and block need to be properly sealed or they’ll suck paint in, reducing color and finish.
- Metal elements corrode and stain walls, particularly near coasts or irrigation systems.
All these surfaces demand the right cleaning, repair, and priming steps—a general cleaning or patch with spackle just won’t hold up for long in Florida’s elements.
Our step-by-step process for surface preparation
Initial inspection and planning
We always begin with a detailed walk-around. Looking for stubborn stains, loose paint, mildew, surface cracks, moisture intrusion, or rot is key. What we find here shapes our plans for cleaning, repairs, priming, and painting sequence.
- Check for chalking and fading. Run a finger along the paint—if it comes away white or powdery, that’s chalking and it needs to be removed.
- Test for moisture with meters, especially around windows, doors, and suspicious spots. If there’s hidden water, paint will fail quickly.
- Look for damage, mold colonies, or efflorescence (salty white residue on masonry).
Nothing stalls a project—or leads to disappointment—more than finding a missed spot once painting is underway. This is when we confirm project scope, masking, access, and set a weather-aware timeline as inspired by the General Services Administration guidance.
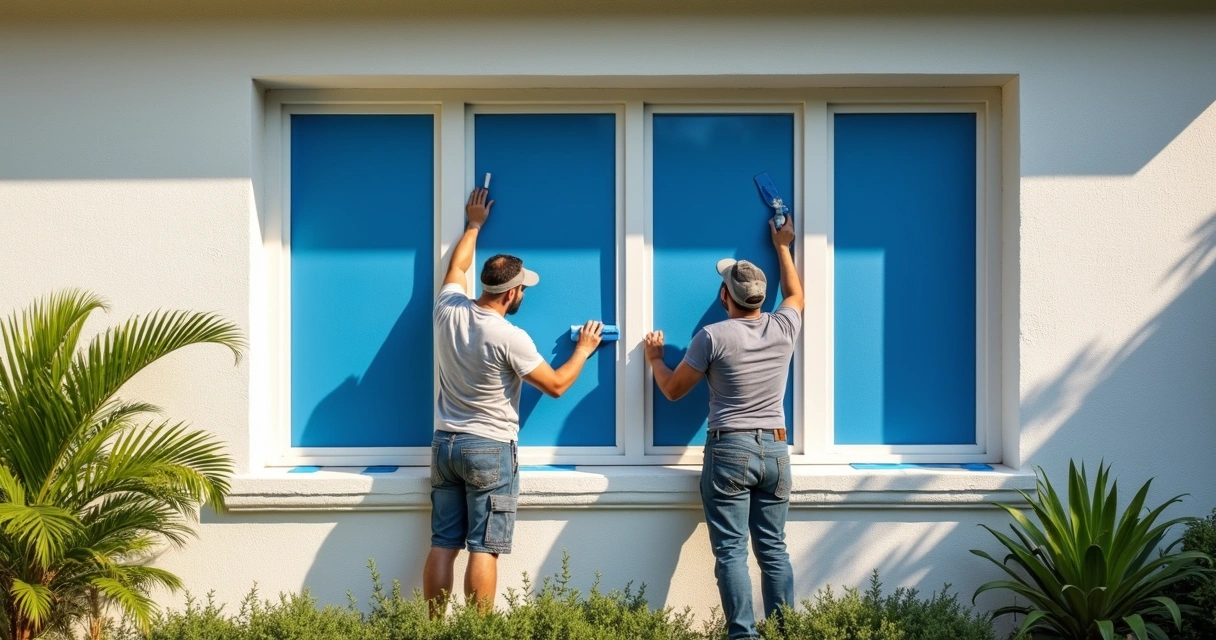
Site preparation: masking, protection, and access
Before cleaning, we remove or mask all items near the surface—light fixtures, electrical plates, decorative elements, and any hardware. This step protects your property, prevents overspray, and gives us full access to treat every inch. For details, the General Services Administration recommendations offer a helpful checklist. Plants, windows, and walkways are covered or shielded, not simply moved aside. Ladders or scaffolds are set up with safety and productivity in mind.
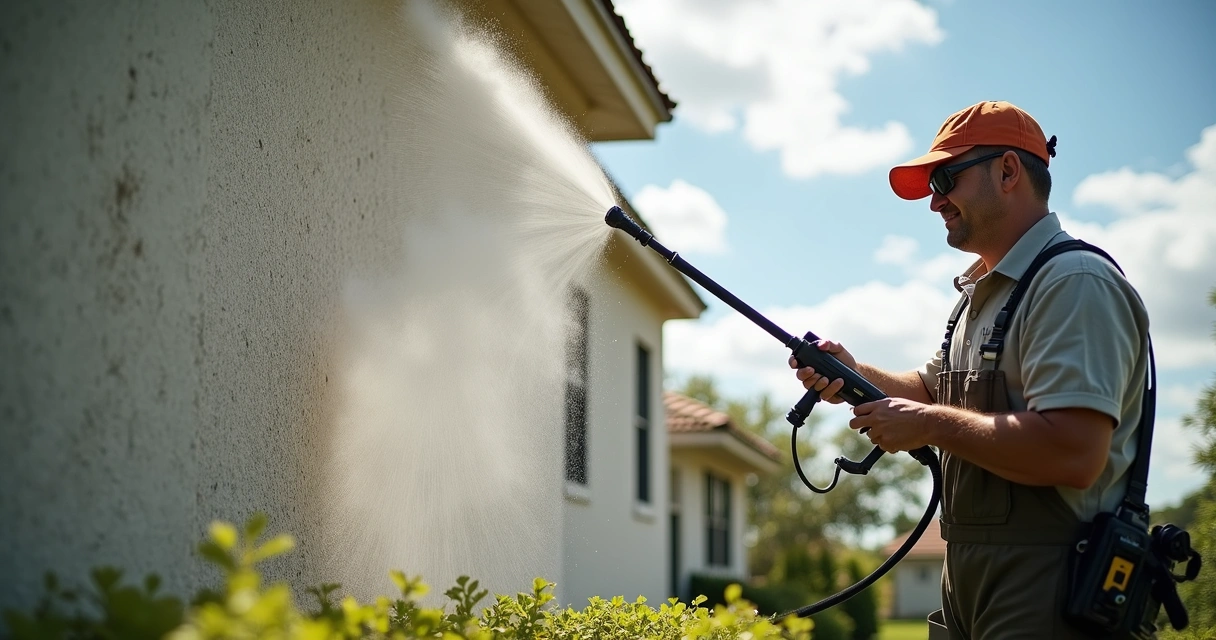
Surface cleaning: pressure washing and mold removal
Florida surfaces collect dirt, algae, mildew, pollen, dust, and old paint powder. These need to be removed completely or new paint will stick poorly and fail too soon.
- We use a pressure washer (typically between 1,500 and 2,500 PSI for painted stucco or masonry) combined with a mold-mildew cleaner. Walls must be washed from top to bottom for even cleaning.
- For stubborn areas, a scrub brush and targeted treatment may follow, especially for mildew or algae stains that resist lighter cleaning.
- Wood surfaces are washed with lower pressure, careful to avoid damaging fibers or driving water behind boards.
Every surface must dry fully after washing—usually at least 24-48 hours, depending on weather. Painting over damp walls is a one-way ticket to bubbling and peeling.
Removing loose and failing paint
Any area of loose, flaking, or peeling paint needs to be removed completely. We achieve this with:
- Hand scraping (using putty knives or scrapers) for small areas.
- Power sanding with an orbital sander for larger or stubborn areas.
- Wire brushing or specialty mechanical tools for rougher masonry.
Surfaces are feathered smooth at every edge, so the final paint finish looks even and not patchy or textured. It’s tempting to rush through this—or to trust pressure washing alone—but our experience at GCM Best Services says otherwise. Skipping even a small patch can result in years of headaches down the road.
Repairing cracks, damage, and gaps
Florida’s warm/cool cycles and humidity breed cracks in stucco and masonry, warped or rotted wood, and open seams around windows and trim. These flaws must be fixed before painting for a finish that lasts.
- Cracks in stucco: We fill these with elastomeric or masonry patching material and tool them smooth. Hairline cracks receive a flexible caulk. Anything wider than a hairline may need mesh tape.
- Concrete repairs: Spalled (flaked or chipped) or pitted spots are patched, and control joints are cleared and re-caulked if necessary.
- Wood repairs: Rotten trim is replaced, holes are filled with a two-part wood epoxy, and nails are set below the surface.
- Window and door trim: All seams are checked and caulked with high-quality, paintable exterior caulk. This not only makes the job look sharp but stops water from sneaking in and undermining our work.
We always allow repair materials to dry and cure before sanding or priming. Rushing these steps can lead to visible lumps, cracking, or flashing beneath the topcoat.
Sanding and smoothing for adhesion
Sanding isn’t just about beauty—it’s about giving paints and primers a surface to lock onto. We feather every transition where old paint meets bare substrate, smooth out repairs, and lightly sand glossy surfaces like metal or previously painted trim. Dust is cleaned off with a tack cloth or a low-pressure blower; no residue left behind. Smooth, even, and dust-free is the goal.
Spot-priming and full priming
Primers are chosen by substrate (stucco, masonry, wood, ferrous or non-ferrous metals) and specific issues (stains, tannins, or alkali in new concrete). Spot-priming covers repairs, bare spots, and patched areas, followed by a full prime for surfaces with extensive bare substrate or drastic color changes. This step is not always required for perfectly sound walls, but bare patches or raw materials must always be primed for long-lasting results.
Primers act as a bond coat between surface and topcoat, controlling sheen and hiding stains. Skipping primer in Florida’s climate means risking chalking, color bleed-through, and poor adhesion, especially on new or patched masonry.
Final masking and site check
Once everything is primed, and the surface is dry and dust-free, we re-check all masking, covers, and access around the house. We confirm weather conditions: no rain or heavy dew in the immediate forecast, temperatures above 50°F, and humidity levels lower than 85%, following current guidance. If all systems are go, topcoat painting begins.
Common pitfalls we see—and how we avoid them
Even seasoned professionals make mistakes if they rush or skip steps. Here’s what we’ve learned to watch out for over years with GCM Best Services:
- Painting before the surface is dry. Moisture is the enemy. We measure and wait, even when eager to progress.
- Leaving old caulks and failing paint unaddressed. Our teams re-caulk, patch, or strip as required. Anything less creates an open invitation for water damage.
- Using the wrong primer or none at all. Topcoats won’t stick or may draw alkali stains right through unless the substrate is prepped with the proper primer.
- Skipping thorough cleaning. Mold and mildew thrive here—paint alone won’t kill or contain them. We kill spores at the root and scrub them away before painting.
- Failure to mask or protect non-painted areas. We always protect landscaping, fixtures, and surfaces adjacent to the work zone as the government’s detailed recommendations advise.
How weather shapes your prep schedule
Central Florida’s weather is unpredictable. We keep a close eye on the daily and extended forecast. Some key points:
- Do not paint if rain is likely within 24-48 hours.
- For latex paints, target days with temperatures above 50°F and relative humidity below 85%, in line with General Services Administration best practices.
- Avoid strong mid-day sun, which can cause rapid drying and poor film formation. Early morning or late afternoon is best in summer months.
We often pause work when a sudden afternoon thunderstorm crops up—safety and quality come first.
What tools and products work best for Florida prep?
From our years of hands-on experience, here’s what we rely on for great results:
- Pressure washers (1,500-2,500 PSI, variable tips)
- Commercial mold/mildew cleaners
- Orbital sanders with dust collection, plus hand sanding blocks
- Putty knives, scrapers, wire brushes
- Elastomeric caulks, patch compounds, exterior-rated wood epoxies
- Masonry primers, acrylic bonding primers, alkali-resistant primers for fresh stucco
- Blue painters’ tape, heavy plastic sheeting, drop cloths
A good surface prep kit is your first defense against early paint failure, especially in a climate like ours. Noise, dust, and debris are managed as part of our commitment to keeping jobsites safe, OSHA-compliant, and neighbor-friendly.
What paint system works after great prep?
While today’s focus is prep, it’s worth mentioning that the best exterior paints in Florida are often high-build acrylics or elastomerics with added UV and mildew resistance. The most expensive topcoat will still fail without proper surface prep, though. This connection is something we talk with every client about, often referencing our own project gallery and case studies, available through our blog resource.
Whatever system you choose, always follow manufacturer recommendations and local codes.
GCM Best Services: our promise, process, and expertise
We’ve prepared and painted homes, condos, retail locations, and commercial exteriors all over Orlando, Tampa, and Central Florida. Our detailed estimates spell out the surface prep steps, warranty coverage, and cleaning/maintenance guidance. If you want to see the kind of exterior transformations we deliver, browse more project examples in our project showcase gallery or check out resources on concrete repair and protection.
What to expect from a professional surface preparation visit
When you schedule a prep and paint project with our GCM Best Services team, you’ll receive:
- A free onsite inspection (Orlando, Tampa, Central Florida region)
- Full project walk-through documenting visible and hidden issues (with photos)
- Clear estimate outlining prep, paint, warranty, maintenance, and timeline
- Step-by-step schedule, communication, and photos of progress
It’s a process that gives you control and confidence every step of the way. If you’re preparing a surface for painting, rescreening enclosures, or considering concrete or paver work, we invite you to get to know us better. More information is available throughout our hardscaping expertise section and our thorough guide to choosing a contractor in Orlando.
Conclusion: For lasting curb appeal, start with great prep
We believe every exterior painting project is a partnership—our expertise and your vision. If you want lasting color, moisture protection, and true property value, it comes from the steps you take before painting starts. With the right preparation, your exterior will stand up to Florida’s climate year after year.
If you’re ready for proven, professional surface preparation and painting—done right from the ground up, with documentation and clear communication—reach out for a no-obligation, on-site quote. We’d love to bring your next project to life with GCM Best Services.
Ready for a professional quote? 📞 (407) 250-1948 • 24–48h • Orlando, Tampa & area.
Frequently asked questions
What is surface preparation for painting?
Surface preparation is the process of cleaning, repairing, and priming exterior surfaces to ensure new paint bonds properly. It includes removing dirt, mildew, and old paint, fixing cracks or holes, sanding or smoothing, and applying primer where needed. The goal is to help the paint last longer and resist Florida’s weather challenges.
How to clean walls before painting outside?
Start by removing loose dirt with a brush or broom. Use a pressure washer with a mix of water and exterior cleaning solution to remove mildew, pollen, chalky residue, and old paint powder. Scrub stubborn areas by hand. Allow the surface to dry completely—usually 24 to 48 hours in Florida conditions—before proceeding with repairs or priming.
Is priming always necessary in Florida?
Priming is always required on bare, patched, stained, or chalky surfaces and on areas where the old paint has failed. For intact, previously painted surfaces in good condition, priming may not be needed everywhere but is strongly recommended in high-humidity Florida for best results and longevity.
How to remove old paint safely?
We recommend scraping loose or peeling paint with a putty knife, sanding edges smooth, and collecting debris carefully. Wear a mask if the building is older, as paint may contain lead. Avoid creating dust clouds. Sometimes a chemical paint remover is used on metal or wood details but always follow safety guidelines and local disposal requirements.
What tools are best for surface prep?
Pressure washers (1,500-2,500 PSI), scrub brushes, putty knives, orbital sanders, and quality exterior caulks are key tools for effective surface prep in Florida. For priming, use brushes and rollers rated for the substrate, and cover floors, plants, and fixtures with plastic sheeting and painter’s tape for a clean workspace.