If you’ve ever stared at a patchy lawn or fought weekly with weeds, the idea of a green, even, low-maintenance artificial turf can feel like a dream. I understand the appeal—especially in places like Central Florida, where the sun bakes real grass into brittle straw by midsummer. But after years of watching projects succeed and fail, I’ve noticed many homeowners and property managers repeating the same turf installation errors. The results? Lumpy surfaces, drainage headaches, turf that lifts at the edges, or even safety risks.
So, if you’re thinking about replacing your grass with artificial turf, I want to walk you through the seven most common mistakes people make—with stories from the field, science-backed advice, and pointers you may not hear elsewhere. By learning from these, you can save money, boost curb appeal, and (perhaps most importantly) actually enjoy your backyard when the job is done.
Understanding artificial turf: Not just a green carpet
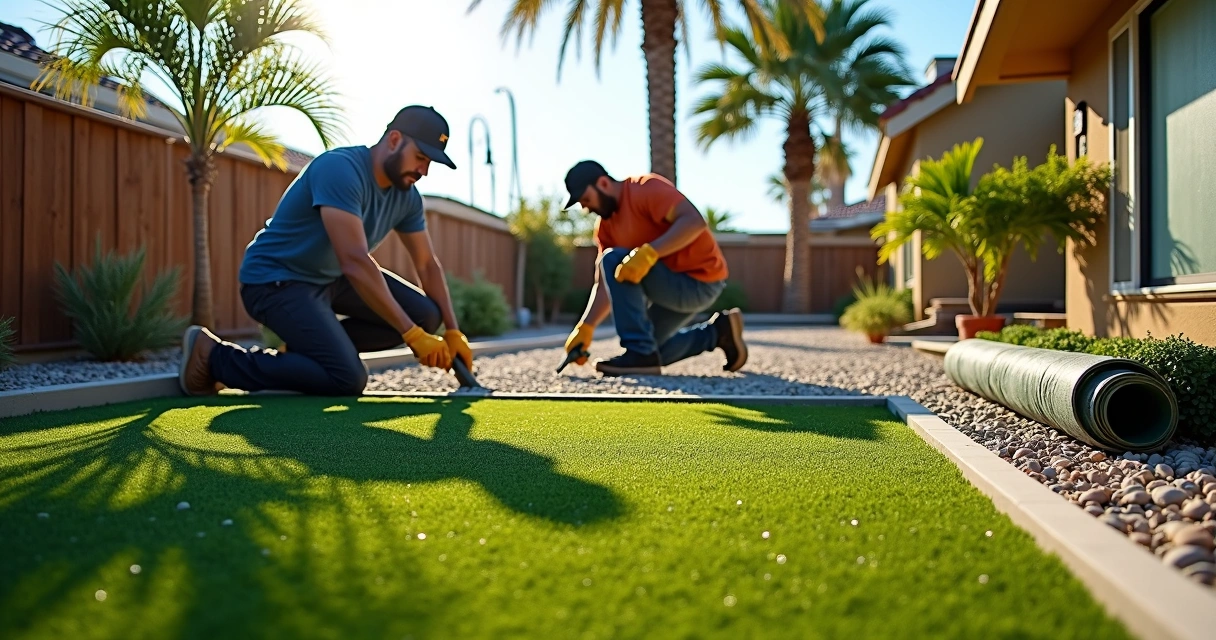
Sometimes, people think artificial turf is a simple roll-out-and-staple job, like unrolling a rug. I promise—it’s not. Modern synthetic turf is a system built in layers, each one with its own job: draining water, resisting weather, handling wear and tear. Companies like GCM Best Services offer artificial turf options tailored to Florida’s unique soil and weather, but no matter the brand, the principles are the same.
Overlooking the basics usually leads to disappointment. So let’s look closely at where installations go wrong.
1. Ignoring the importance of base preparation
This is, hands down, the biggest issue I see. The foundation of your artificial turf is like the foundation for your home—get it wrong, and everything above is at risk. If you don’t take the time to prepare your base, expect soft spots, wrinkling, or uneven ground that trips up pets, kids, or even yourself.
The science behind it
A study from the National Center for Biotechnology Information found that improper installation, including shoddy base compaction, directly increases injuries among athletes. For home surfaces, the risk might not be as dramatic, but you still get uneven settlement and a messy look.
Good base prep means excavating at least 3-4 inches down, compacting a layer of crushed rock, and raking it flat before anything else touches the ground.
Sometimes, people try shortcuts: laying turf right over existing grass, skipping the compactor, or leaving pockets where water can gather. Big mistake. Each step affects everything that follows.
- Remove all roots, weeds, and debris
- Use angular stone, not round gravel—it locks together better
- Compact thoroughly at each stage, ideally with a plate compactor, not just a hand tamper
Skip this, and you’ll have years of “why is that spot always soggy?” or “why is it sinking there?” So take your time at the start. You’ll thank yourself later.
2. Not addressing drainage—until water sits on top
In Florida, rain comes in sheets. Artificial turf is designed to let water drain through, but only if the layers beneath it move water away. I once worked with a client who found puddles forming days after a heavy storm. When we lifted the turf, the sub-base looked fine at first glance, but after digging deeper, we found thick clay holding back water like a bathtub. It had never been tested for permeability.
Drainage can’t be an afterthought
Cornell University’s Sports Field Management program points out that inadequate drainage can cause water accumulation, making the turf slippery and unsafe. You’re not just looking for wet shoes; you’re risking slips, bacteria growth, and mold.
Poor drainage is a silent failure. You don’t see it until it’s too late.
What works best in my experience? A compacted crushed stone base with gentle slopes away from buildings and proper integration with existing drains or French drains if needed. Matching with your hardscape matters too; I often refer clients to local advice like the drainage solutions for paver installations because turf and pavers share many drainage challenges. Plan for the downpour, not just the drizzle.
3. Using low-quality turf or infill materials
This one’s tempting, especially if you’re working with a tight budget. But the University of Massachusetts Amherst explains in detail that using substandard turf or infill can greatly reduce the durability and appearance of your surface. I’ve seen cheap turf fade, flatten, and fray long before the warranty is up. Worse, cheap infill (the granules brushed into the turf fibers) often degrades, blows away, or doesn’t weigh down the turf at all.
The right materials last longer, drain better, and look more natural compared to lower-grade options.
Another overlooked factor? Safety and health. Environmental Health Perspectives journal notes that substandard turf can release more volatile organic compounds (VOCs), especially when exposed to high heat and sunlight, potentially affecting your air quality. It’s well worth seeking certified, UV-stabilized, non-toxic turf products, particularly around children or pets.
If you aren’t sure what to pick, check with a local pro or review specification sheets. Turf for a shady walk is not the same as turf for a sun-blasted play area. Companies like GCM Best Services only use high-grade materials in their artificial turf installations in Orlando, which helps give peace of mind about both function and longevity.
4. Overlooking perimeter security and edge restraint
I’ve lost count of how many times homeowners call about “curling turf edges” or “the turf moving after a storm.” This often boils down to poor edge restraint. The perimeter is where turf is most vulnerable to lifting, tripping hazards, and weed invasion. People sometimes just stake it down randomly, or use cheap plastic instead of sturdy bender board, concrete curb, or metal edging.
If you want the turf to look seamless next to pavers—or if you’re integrating artificial turf with a patio or driveway—it’s smart to refer to solutions like what’s described in weed prevention between pavers. The ideas are similar: it’s about locking everything in so nothing shifts or lifts.
Proper edge restraint keeps turf flat, resists movement, and prevents weeds and debris from sneaking underneath.
If your area gets a lot of foot traffic or heavy yard equipment rolls over it, consider a hard border or even poured concrete curbs for lasting strength. Keep those edges crisp and the whole area stays neat for years.
5. Poor seaming and joining—lines and bumps that ruin the look
This is probably the “giveaway” mistake that screams, “amateur installation.” I rarely see it on professionally done jobs, but for DIY, it’s surprisingly common. If you install two pieces of turf and don’t align the grain, cut carefully, or use the right joining tape and adhesive, you get:
- Visible lines (“zebra stripes”)
- Bumpy or raised overlaps
- Edges that peel apart over time
Here’s a useful tip: always lay turf so that all fibers lean the same way, especially in areas that will reflect light (like in front yards or pool decks). Even small misalignments catch the sun in odd ways.
If you can see the seam from your door, guests will notice it too.
And don’t skimp on materials—use only recommended seaming tape and adhesive, applied evenly and allowed to set. This is not the place for duct tape or off-brand glue. In challenging situations, especially around bends or custom shapes, cut carefully and double-check each segment before final fixing.
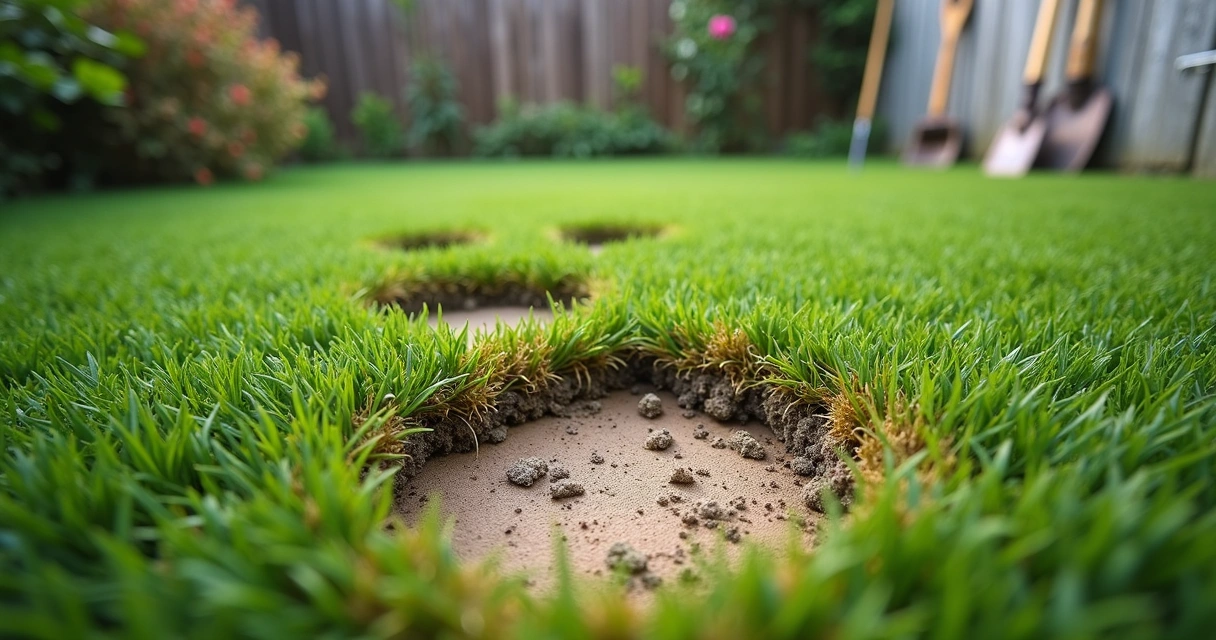
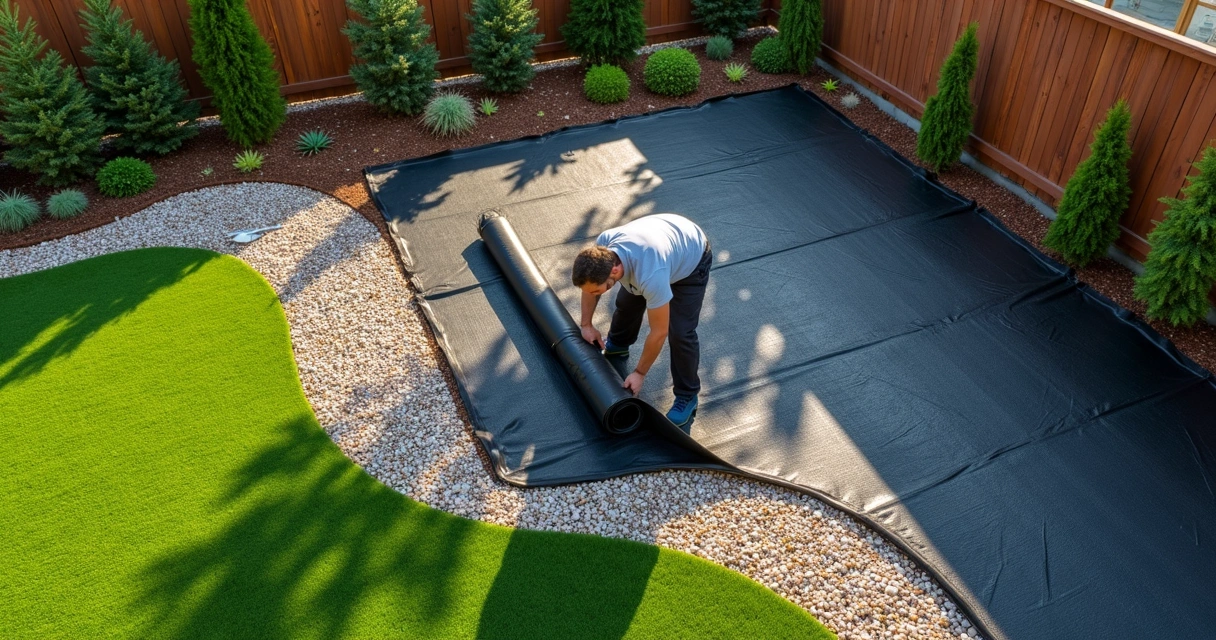
6. Skipping the weed barrier—or picking the wrong one
Why spend so much time and money to have turf, only to have dandelions poking through six months later? Installing the right weed barrier is a step some try to skip, but it’s key for a clean look and less work later.
Some people use landscaping fabric that isn’t rated for ground contact. It can tear, rot, or let roots push through quickly. Others double up with plastic sheeting, which seems logical but chokes off drainage and traps water, causing odors and possible mold.
Always use a high-quality, permeable geotextile fabric made for synthetic turf applications.
This keeps out weeds but allows rainwater to move downward. If you notice any spots of persistent weed growth along seams or edges, it could be a sign of either missed areas or an incorrectly installed barrier. Go back and patch as needed. The good news? With proper installation, you’ll rarely see anything but green.
7. Neglecting maintenance after installation
No, artificial turf isn’t 100% maintenance free. It may not need mowing or watering, but occasional care makes all the difference for how it looks and lasts. Sweeping up leaves, brushing the fibers back up, and occasionally replenishing infill are all necessary.
Research from Michigan State University points out that neglecting post-installation maintenance, such as topdressing and brushing, leads to more wear and a lifeless appearance.
A little attention keeps artificial turf looking inviting—not flat and tired.
For most homes, a simple leaf blower, a soft rake, and periodic infill top-ups are all you need.
If you notice fibers matting or compacting (especially after heavy use), light brushing helps them recover. For pet areas, rinse occasionally with water and a mild cleaner. Well-cared-for turf repays you in looks and longevity.

Real stories from Central Florida yards
Stories stick with us, so here are a few moments I’ll never forget:
- A Sanford homeowner installed turf for her dog run but skipped the weed barrier. Within two months, tough Florida crabgrass poked through—forcing her to redo half her project. Now, after following best practices (and a bit of help from a certified installer in Sanford), she laughs about it with neighbors.
- A property manager in Orlando used the wrong infill—beach sand instead of recommended coated infill. It washed out in the first storm, leaving fibers limp and uneven. He contacted GCM Best Services to fix it, and months later, the turf looks fresh and withstands heavy foot traffic.
- One business owner thought edging wasn’t needed because “no one ever walks along the side.” A year later, mower wheels and kids’ feet had shifted whole sections. Now, with solid metal edging and reinforced seams, the problem is gone for good.
I’ve seen these missteps many times. But if you learn from them, you’re already a step ahead.
Choosing the right installer matters
I won’t say everyone needs to hire a pro. Some people really enjoy the process and do a top-notch job themselves. But artificial turf, especially in challenging areas or for bigger projects, can be tricky. Companies like GCM Best Services know the local soil, weather, and drainage systems—and they bring the right tools for a tidy, on-time install.
If you decide to do it on your own, don’t skimp on research and materials. But, for peace of mind (and to avoid costly do-overs), sometimes it really is easier to let an experienced team handle it. They manage permits, coordinate with HOAs, and give you warranties you can count on.
Conclusion: A green yard, minus the regrets
If you’ve been considering artificial turf, I hope you see now it’s a bit of an art and a science. Each mistake is avoidable, but small errors have a way of showing up years later—sometimes when you least expect them. By focusing on good base preparation, smart drainage, tight seams, strong materials, and regular simple upkeep, you can have a yard that makes you smile every day, not frown.
When you’re ready to move forward, why not consider artificial turf solutions from GCM Best Services? If you’d like a free assessment or just have questions about your unique space, our team is here to help—no pressure, just honest advice and clear communication. Your lawn should be a pleasant space, not a source of worry.
Frequently asked questions
What is artificial turf installation?
Artificial turf installation is the process of replacing natural grass with a synthetic, grass-like surface built in several layers. This involves removing the existing lawn, preparing a level and compacted stone base for drainage, installing a weed barrier, rolling out high-quality turf, securing seams and edges, and filling the fibers with infill material. The goal is to create a durable, low-maintenance green space that looks and feels natural year-round, as described in detail by GCM Best Services.
How to avoid common turf mistakes?
To avoid common artificial turf mistakes, focus on proper base preparation (removing all grass and compacting the ground), ensuring good drainage, using certified, high-quality turf and infill, carefully joining seams and edges, installing a permeable weed barrier, and planning for simple ongoing maintenance. Don’t skip steps or use low-grade materials, as supported by Cornell University recommendations and my years of hands-on experience.
Is artificial turf worth the cost?
For many property owners, artificial turf is worth the upfront cost due to long-term savings on water, mowing, and lawn chemicals, plus a consistently attractive appearance. It’s especially valuable in climates where grass struggles, such as sunny Central Florida. However, quality varies, so results depend on installing professional-grade products like those offered by GCM Best Services in Orlando, and following expert advice on material selection.
How long does artificial turf last?
Most quality artificial turf installations last 10-20 years with basic care. UV-stabilized fibers resist fading, and strong backing materials hold up well even under heavy use. Longevity depends on factors like material quality, installation practices, and level of daily wear. Occasional brushing and infill top-ups, as recommended by research from Michigan State University, help maintain its fresh look over the years.
What are the best artificial turfs?
The best artificial turfs balance soft, realistic fibers with UV-protected color, tough backing, and infill options suited to your climate and use. For pet yards, opt for antimicrobial materials and fast-draining designs. For decorative areas, choose denser, softer blades. It’s always smart to select products certified for low VOC emissions, as highlighted by Environmental Health Perspectives. For specific advice or local installation, the GCM Best Services team in Sanford can recommend options based on your needs and site conditions.