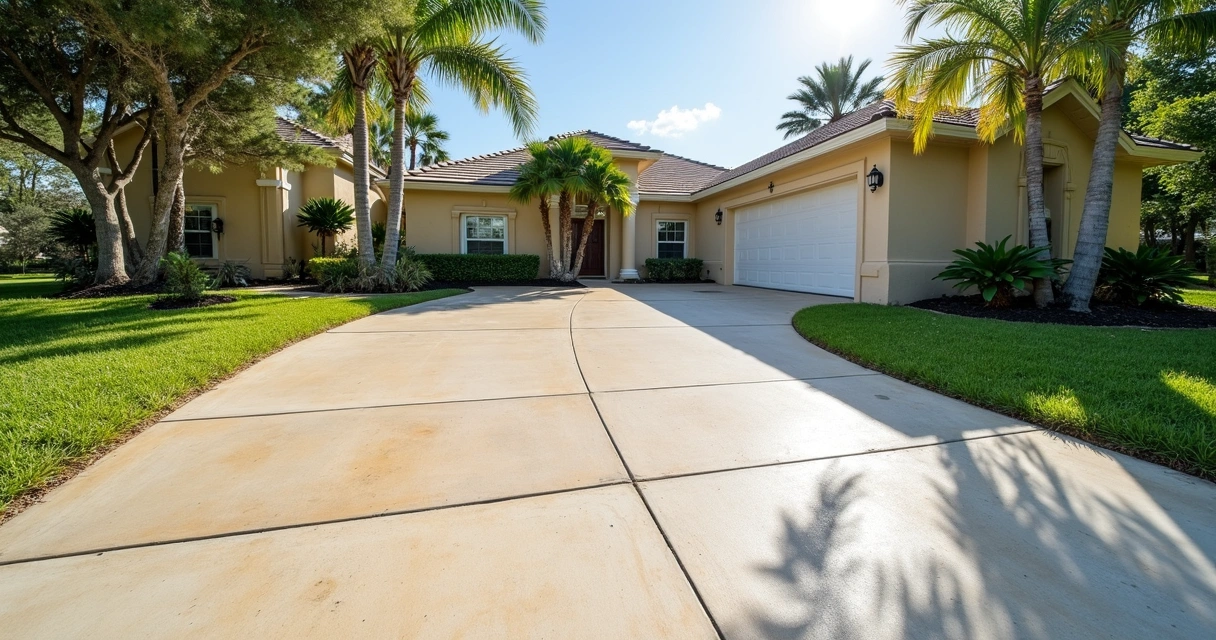
Driveways in Central Florida face years of sun, rain, and traffic. Over time, the surface can start to break apart—an issue known as spalling. If you catch it early, you can keep your driveway looking great and lasting longer. At GCM Best Services, we help property owners throughout Orlando and nearby cities repair and prevent small flaws before they turn into bigger, costlier problems.
In this guide, we want to share our step-by-step approach to identifying and repairing minor surface spalling in driveways. We also explain what causes the problem, and how thoughtful maintenance protects your investment. Our experience comes directly from helping neighbors just like you, using proven methods aligned with expert recommendations and local codes. Let’s look closely at what to do if you see flaking, chipping, or thin surface damage on your concrete drive.
What is spalling and is it happening to your driveway?
Surface spalling is when the top layer of concrete flakes, chips, or peels away, exposing rough aggregate and leaving your driveway spotty. This isn’t a deep structural problem at first, but left untreated, it will only worsen. Spalling most often starts at the surface, and can be easy to spot once you know what to look for.
Common visual signs of spalling
- Patches of thin, rough concrete where the top layer has come off
- Exposed small stones or gravel in the affected areas
- Shallow pitting or slight depressions on the surface
- Edges of affected areas may look crumbly or uneven
- Sometimes, white dust or fine material around the spots
These changes often appear after periods of rain, when temperatures fluctuate, or after years of repeated vehicle use. We find that driveways installed without proper base preparation, or without adequate control joints, are most susceptible—especially in Florida’s climate, where moisture and heat combine to stress concrete.
Why does spalling happen? (Causes explained)
Several things, alone or in combination, can cause driveway surface spalling. Knowing what’s behind it helps with both repair and prevention. According to FHWA research, spalling can result from:
- Water penetration and freeze-thaw cycles, which lift the surface
- Poor concrete finishing—like adding too much water to the mix or late troweling
- Corrosion of steel reinforcement near the surface, which can push outward
- Infiltration of materials (sand, grit) into joints, creating local stresses
FHWA further details causes such as alkali-silica reactions and inadequate compaction near surface joints in their studies of common sources of spalling in pavement. These issues often amplify when drainage is poor or concrete stays wet for long periods, as can be the case in flat, humid neighborhoods of Central Florida.
How to check for minor surface spalling
We regularly advise clients to do a careful walkaround of their driveway, looking for any early warning signs before things progress. Here’s our method:
- Visit after a dry day, so all surfaces are visible.
- Focus on joints, edges near the street, or spots where water collects or regularly drips.
- Look for thin surface layers that are breaking loose, or any unusual discoloration or roughness.
- Run a gloved hand gently over the area—spalled concrete feels rough, almost sandpaper-like, compared to healthy, hard concrete.
- Check for white powder (efflorescence) or loose stones that seem to have come out of the slab.
If you spot any of these signs and the areas are smaller than a foot or two across, you’re likely dealing with minor surface spalling. Catching this now makes a big difference—in fact, we see many driveways that last years longer after simple early repairs.
What makes spalling more likely in Florida?
Our state’s blend of wet summers, strong sun, sandy soils, and occasional cold snaps creates higher risks for spalling. Broadly, Florida driveways may suffer because:
- Rainwater doesn’t drain fast enough, leading to trapped moisture under or inside the slab
- Concrete poured on a poorly compacted base shifts, cracks, and becomes more vulnerable at the surface
- Frequent pressure washing or use of harsh de-icers (rare but possible in cold snaps) speeds up surface breakup
In our experience with GCM Best Services, driveways benefit from thicker, compacted sub-base layers, higher-density concrete mixes, and joints that are planned to manage expansion and movement. More about those methods is discussed in our concrete installation guide for driveways and patios in St. Cloud and nearby areas. For homeowners, understanding local conditions is step one in effective repairs.
When is the right time to repair spalled concrete?
If spalling covers only a few small spots and the underlying driveway is solid, prompt repair is not just a matter of looks—it protects structure and safety. Delaying can let water in, making the problem much worse by reaching deeper layers, rusting reinforcement, and even causing trip hazards. We tell our clients: catch it early, and you save time and money.
Materials and tools for a basic repair
For small, shallow spalls, you need a few things to make lasting repairs. Based on recommendations from TxDOT and our daily practice, you should have:
- 100% solids epoxy or epoxy mortar for surface-level repairs
- Wire brush or angle grinder with a diamond cup (for cleaning and roughening the patch spot)
- Chisels or sturdy scrapers for removing loose material
- Shop vacuum or compressed air for dust removal
- Gloves, safety glasses, and dust mask
- Painters’ tape (for crisp edges)
- Trowel or putty knife for application
For slightly deeper spalling—where 1/4″ to nearly 1″ of thickness is loose or gone—a patch compound or polymer-modified repair mix may be needed. But for truly minor spalls, neat epoxy or an epoxy-sand blend will do the job and blend in well.
How to fix minor surface spalling: Step-by-step
We follow a disciplined repair process for driveways that keeps damage from spreading and gives a tidy finish. Here’s our method, proven by research and hands-on success:
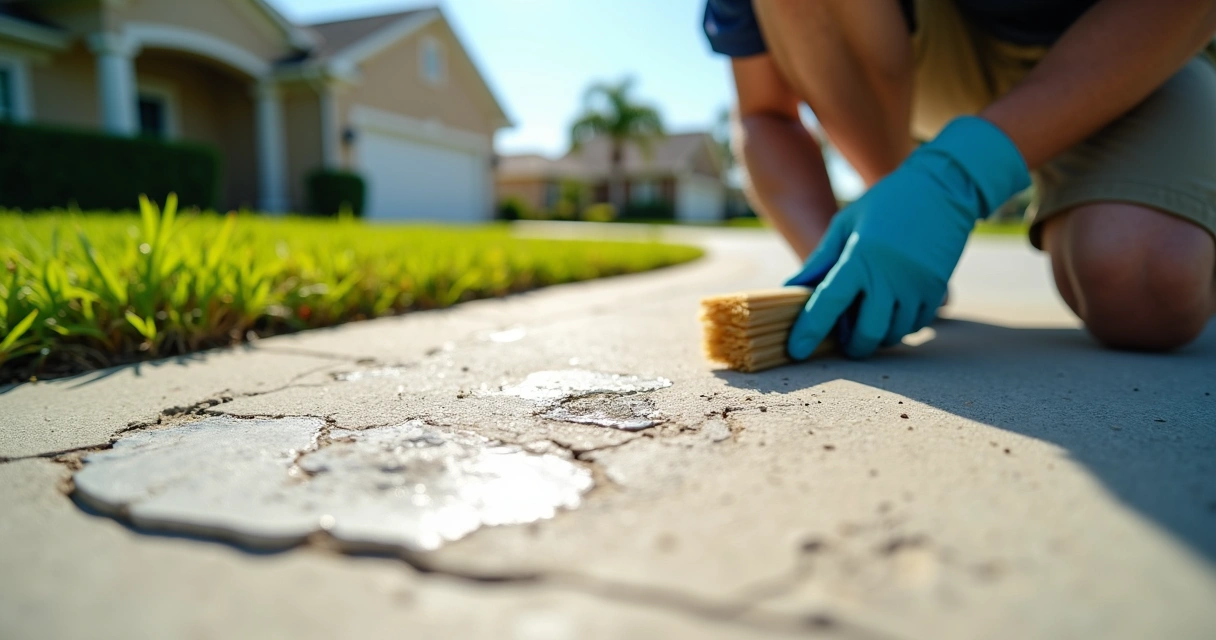
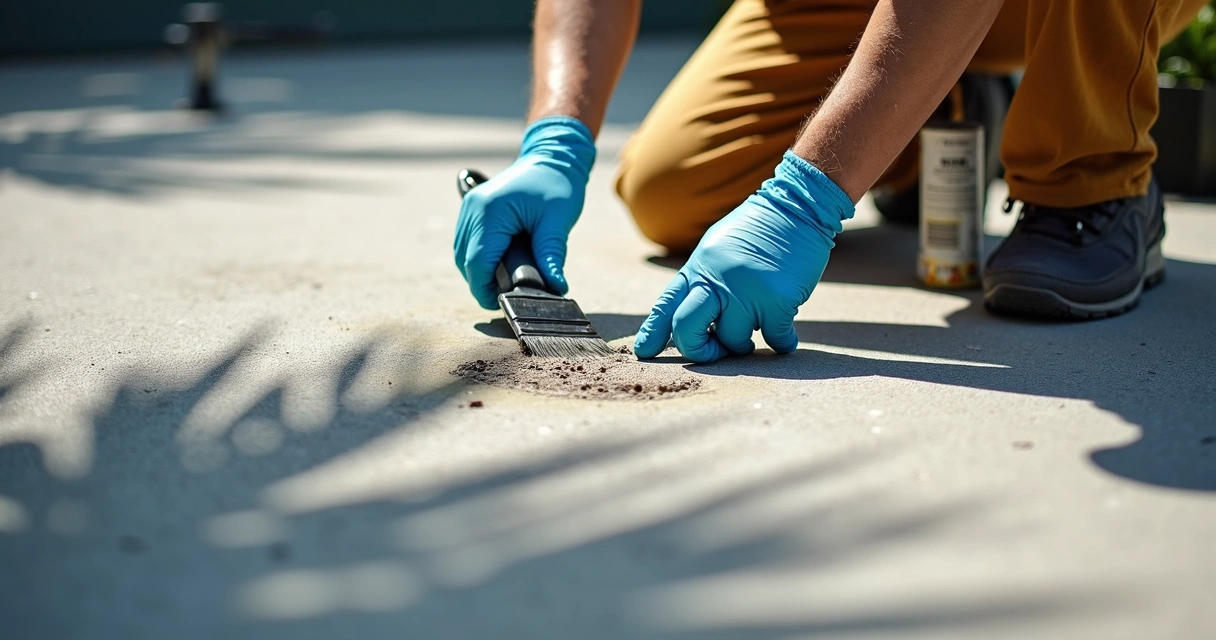
Step 1: Remove all loose and damaged concrete
Use a chisel or hand tool to gently chip away any loose or “flaky” bits. For a professional look, try to keep the borders of your patch area as square or round as possible. The goal: create a firm, stable edge for the repair to bond to. We sometimes score around the patch with a grinder for better results.
Step 2: Clean and roughen the exposed surface
Next, scrub the spot with a wire brush, then vacuum away all dust and debris. If you have an angle grinder, roughen the area slightly so the epoxy sticks well. According to guidance from FHWA, proper cleaning is the key to a strong, long-lasting patch—skip this, and repairs tend to fail early. Avoid pressure washing directly before application unless you allow full drying time.
Step 3: Tape off and protect surrounding concrete
Apply painter’s tape in a border to control the patch shape and keep epoxy off good areas. This helps with visual blending and makes finishing easier.
Step 4: Apply epoxy (or epoxy mortar) to the area
Mix the epoxy according to instructions. For hairline repairs or very shallow spalls, use “neat” epoxy on its own. For 1/4″ or deeper spots, blend in clean sand or an epoxy mortar kit for a stronger fill. Work quickly and press the patching material firmly into place. Smooth it even with the surrounding driveway.
Epoxy solutions are specifically recommended for minor spalls because they form a waterproof, durable bond with existing concrete. Consult expert repair guidelines on materials if needed.
Step 5: Allow time to cure, then finish the surface
Most driveway-grade epoxies cure in a few hours, but always check the manufacturer’s details. When dry, remove the tape. You may sand or grind lightly for a flush finish, or even gently broom for a little texture to match the slab.
Step 6: Seal the repair (optional, but recommended)
Applying a quality concrete sealer over the patched section and adjacent surface helps prevent water penetration and future spalling. In Florida’s climate, we always suggest sealing for best results and longest life.
Keep repairs dry for 24–48 hours before regular traffic resumes.
How to match the repair with the rest of your driveway
One question we regularly get is how to make the patch “disappear.” Here are our best tricks:
- Use patching material tinted to match your concrete’s shade. Many suppliers now offer color packs.
- Try brooming lightly across the fresh repair to replicate the driveway’s texture.
- Feather the edges by sanding after curing, making a less obvious transition.
- If you have a decorative finish, masking with a patterned stencil can help blend the repair.
The goal is always a surface that is safe, seamless, and visually pleasing. Minor repairs should not jump out but simply restore the uniform look of your drive.
What if the problem is larger or returns?
If spalling keeps showing up, or if you find areas deeper than about one-third of the slab’s thickness, repairs need a different approach. For extensive or deep spalling, we recommend a partial-depth patch or, in rare cases, a larger resurfacing. More information for these cases is available in our guide to concrete repair by licensed contractors. At that point, consulting a local expert is wise—this ensures permits, codes, and drainage are all considered.
How to prevent spalling from returning
We find that a few simple habits keep most driveways in great shape:
- Keep your driveway clean to minimize grit and chemical build-up
- Redirect water and fix drainage so puddles don’t sit on the slab
- Seal the surface every few years, especially after repairs
- Use salt and de-icers sparingly on Florida driveways
- Check joints and edges for signs of movement or trapped debris
Long-term durability starts with good construction methods—like using thicker sub-base, the right mix, and well-planned expansion joints. Curious about how pros build driveways to last? You can find more in our step-by-step installation guide for Central Florida.
Related resources for maintaining your concrete surfaces
Protecting your driveway goes beyond just patching holes. To learn more about long-term care, check out our articles on how to prevent cracks in Florida concrete patios and driveways and find tips for choosing the best concrete contractor in Orlando. For a big-picture view, you’ll find a whole section on concrete maintenance and repairs in our concrete resource library.
Conclusion: Keep your Central Florida driveway looking its best
Minor surface spalling is a common issue, but it doesn’t have to disrupt your driveway’s appearance or safety. If you catch it early and use the right repair materials, you prevent bigger issues, save money, and extend the lifespan of your concrete—especially important in the unique climate of Orlando and Central Florida.
At GCM Best Services, we’re dedicated to clear communication and quality work on every project. Whether you need a small patch or a full driveway plan, our local team can help you protect your investment. When in doubt, give us a call and ask for a no-obligation assessment. We’re here to make your exterior projects simple, fast, and built to last.
Stop letting small problems chip away at your property value—contact us anytime to keep your driveway ready for years to come.
Ready to know us better or get help with your driveway? Reach out today and see how GCM Best Services simplifies repairs across Orlando, Tampa, and all of Central Florida.
Frequently asked questions about minor surface spalling in driveways
What is surface spalling on driveways?
Surface spalling on driveways is the flaking, peeling, or chipping away of the top layer of concrete, usually leaving shallow, rough patches and exposing small stones. It is mostly a result of weather, freeze-thaw cycles, water intrusion, or finishing issues, and is common on older slabs or those built with less-than-ideal drainage and concrete mixes. Spalling is usually a cosmetic issue at first but can lead to bigger repairs if not addressed.
How can I fix minor spalling myself?
To repair minor spalling at home, chip away loose concrete, clean the area thoroughly, and apply a bonding repair material—like a 100% solids epoxy or epoxy mortar—making sure to match color and texture as closely as possible. A neat, thin application of epoxy creates a waterproof, strong patch that helps prevent further damage. Allow repairs to cure fully before returning the area to regular use. For deeper or wider spalls, consult a professional or local guidelines for repair depth and materials.
What causes spalling on concrete driveways?
Spalling in concrete driveways can be caused by a variety of factors, including water intrusion, poor finishing practices (like overwatering the surface), corrosive chemicals, freeze-thaw cycles in colder climates, and improper base preparation. According to FHWA, surface spalling can also result from corrosion of shallow steel reinforcement or infiltration of incompressible materials into slab joints, among other technical causes. Florida’s humidity, surface water, and sandy soils can make local driveways especially vulnerable without proactive care.
Is it worth it to repair spalling?
Repairing minor spalling is almost always worth it because it extends the life of your driveway, prevents bigger damage, and maintains safe, attractive surfaces. Early intervention costs far less than waiting for widespread failure. In cases of very deep, structural spalling, a more extensive repair or replacement may be needed, but shallow, surface-level spalls are simple to address in most cases.
How much does spalling repair cost?
The cost to repair minor spalling can vary depending on the area, materials needed, and whether you do it yourself or hire a professional. For small patches using quality epoxy or mortar, material costs may range from $30 to $100 per spot; professional repairs cost more due to labor and warranty but often include improved surface blending and sealing. For a comprehensive estimate and personalized recommendations, GCM Best Services offers free on-site assessments in Central Florida.