Primary keyword: painting over old masonryVariants: masonry surface prep, masonry primers, paint peeling masonry
Audience pain: Property owners in Central Florida face peeling paint, water intrusion, and cracking on old masonry.Audience benefit: With the right prep and products, painted masonry lasts, repels moisture, and looks renewed.
Painting over old masonry is more than adding color—it’s about ensuring your finish lasts through Central Florida’s rain, sun, and shifting soils. At GCM Best Services, we’ve seen many shortcuts, but proper surface prep, primer selection, and technique make all the difference. In this guide, we’ll share practical steps, our tips, and real cautionary tales to protect your investment and avoid common pitfalls.
Outline
- Understanding masonry surfaces and why they matter
- Why paint fails on masonry in Central Florida
- Preparation: The hidden backbone of success
- Primers: Choosing what works on old masonry
- Paint selection and application: What we see that works
- Common pitfalls and how to avoid them
- Case stories: Real outcomes from our painting crews
- Resources and where to find more help
- Conclusion: Professional results, lasting surfaces
- FAQs: Prep, primers, value, peeling, and mistakes
Understanding masonry surfaces and why they matter
Old masonry includes brick, concrete block, stucco, and stone. Each has a unique texture, absorption rate, and cleaning need. In Central Florida, we often face porous block or stucco designed to breathe, yet the wrong paint or prep can trap moisture or cause flaking.
We regularly encounter decades-old block walls, weathered stucco, or even historic brick, and the surface tells its story: chalky residue, efflorescence, hairline cracks, or faded paint hint at underlying issues. Before anything else, we assess:
- Was paint already applied before?
- Is the surface chalky or dusty?
- Are there cracks or loose joints?
- Is moisture present—visible or invisible?
- What about prior coatings: oil, latex, elastomeric, or limewash?
Knowing what’s under the old paint means we can plan for lasting results, not just a temporary fix.
Why paint fails on masonry in Central Florida
Paint failures on masonry are almost always signs of skipped steps below the surface. In humid, storm-prone Central Florida, we see these common scenarios:
- Blistering and peeling from trapped moisture
- Fading, chalking, or bare spots from improper cleaning
- Cracking and alligatoring due to movement or wrong primers
- Staining: tannins, mold, or efflorescence returning post-paint
According to the General Services Administration’s guidelines on surface preparation for brick, metal, wood, and plaster, paint can fail when dirt, grease, or scale remain on the surface. Moisture—whether from wicking groundwater, failed flashing, or capillary draw—breaks the bond between surface and paint.
At GCM Best Services, we’ve refinished properties where previous paint jobs lasted only a year or two. Our story always begins with a deep assessment of water pathways and cleaning needs.
Masonry can last for generations—but only if water and paint work together.
Preparation: The hidden backbone of success
Surface preparation makes or breaks a paint job on old masonry.It’s not glamorous work, but skipping steps guarantees premature failure. Our approach for homes and businesses in Central Florida is consistent, methodical, and in line with best practices.
Cleaning: more than dusting off
Every project starts with surface cleaning. We sweep, vacuum, and power wash as needed. For greasy stains, a degreaser comes next. If we see efflorescence—a white salt deposit—we use special masonry cleaners. Mold or mildew gets treated with an appropriate biocide.
We follow the advice found in official guidelines, emphasizing that clean surfaces—free of dirt, scale, and any contaminants—are key to strong paint adhesion.
Repairs: cracks, holes, and failed mortar
We never paint over failing materials. Small patches are filled with compatible mortar or a high-quality acrylic patch. Expansion joints and large cracks are treated with the right caulk or elastomeric material.
For historic or decorative masonry, our repairs respect the existing material so the finish remains even and stable.
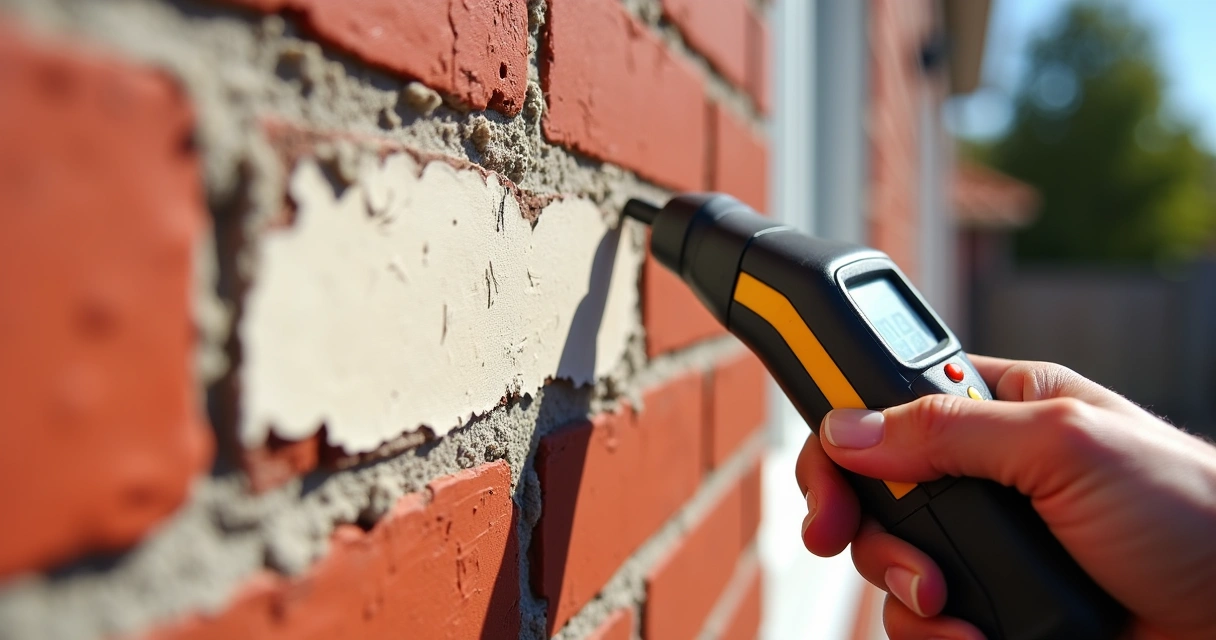
Drying: patience pays off
After cleaning, we wait—for real dryness. Sometimes, after a heavy summer rain, this means pausing for several days. If walls trap moisture, we find and solve the source before painting. In some cases, we use moisture meters to ensure surfaces are below 15% moisture content.
Paint won’t fix a damp wall—it only hides it for a while.
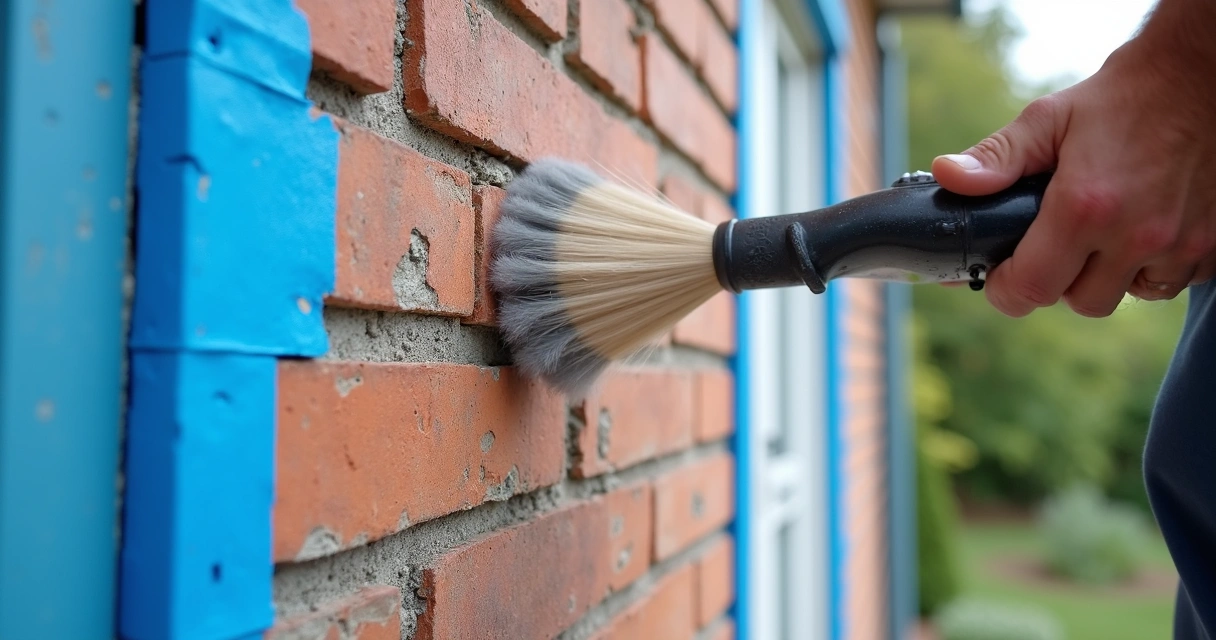
Masking and removing hardware
As recommended by the General Services Administration’s detailed guidelines for painting exterior and interior surfaces, we remove or mask downspouts, vents, and hardware. This leaves crisp lines and prevents mechanical parts from sticking or failing.
Power tools or hand prep?
Light sanding or wire-brushing removes loose or chalky paint. On historic masonry, gentle hand tools avoid damage. Newer concrete rarely needs grinding unless heavy scaling or adhesives are present.
Primers: Choosing what works on old masonry
Primers bridge the gap between masonry and paint, sealing pores and promoting adhesion.We’ve tested dozens of formulas—some succeed in Orlando’s humidity, others disappoint. Here’s what we see working.
Why masonry requires special primers
Masonry absorbs water. Regular primers can leave the surface too thirsty or let alkali attack the finish, resulting in chalking and peeling. Dedicated masonry primers contain minerals and binders to seal, resist alkali, and block stains.
In our experience, we choose primer by testing absorption rate. A few water droplets on unpainted masonry tell us if the surface is open (absorbing instantly) or sealed (beading up). Most old concrete and brick will benefit from a silicate or acrylic masonry primer.
Oil vs. water-based primers
Water-based masonry primers have improved greatly. They dry fast, resist alkali, and allow the masonry to ‘breathe.’ Oil-based primers can block water, but may trap moisture inside and have longer drying times—rarely our first choice for Florida’s climate.
Stain-blocking and efflorescence control
If your wall had leaks, yellowing, or mystery stains, we use a stain-blocking primer formulated for masonry. It stops residual salts, tannins, and mold from showing through, even after topcoats are applied.
A good primer sets the stage for a great finish—don’t skip it, don’t settle for leftovers.
Paint selection and application: What we see that works
Choosing the right paint is about matching performance to the real-world needs of your masonry. Here’s how we match product with application:
- Elastomeric paints: Withstands movement, bridges small cracks, and resists wind-driven rain. Strong performer for stucco and block in wet regions.
- 100% acrylic latex: Our standard for most masonry. Flexible, UV-resistant, color stable, and easily cleaned. Breathes, so moisture escapes.
- High-build coatings: For walls with small imperfections. A thick finish fills minor texture, ideal for historic or uneven masonry with a lot of patchwork.
We always match paint type with the underlying surface and primer—mismatching these is one of the top reasons coatings fail.
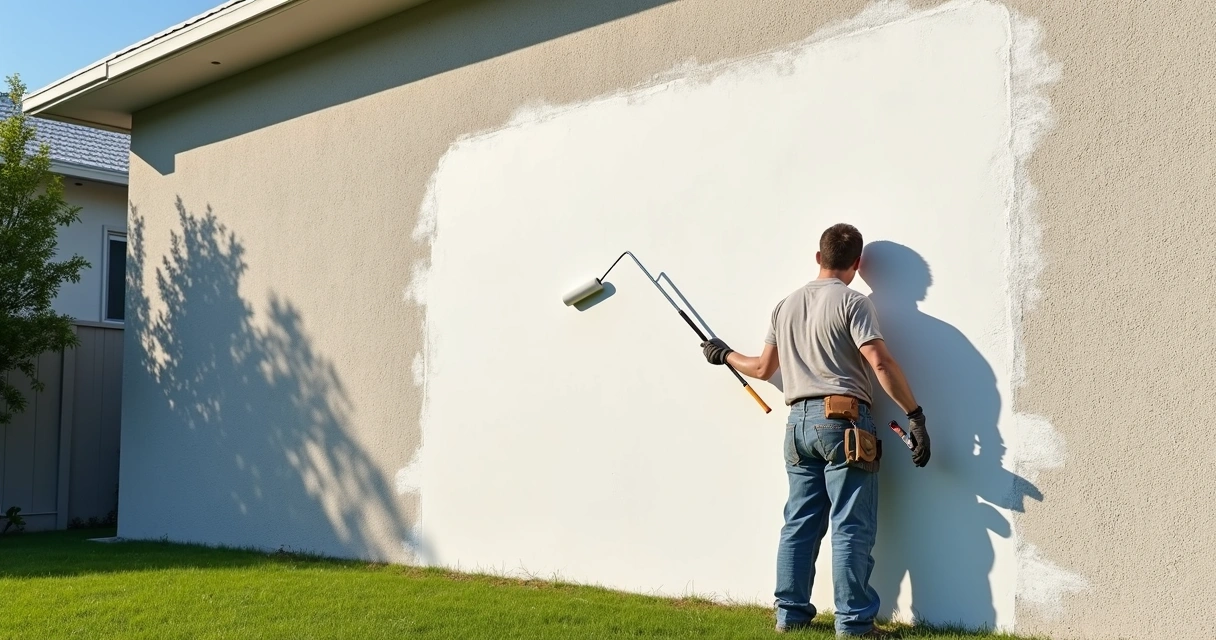
Application: Brush, roll, or spray?
Rollers force paint deep into the masonry’s pores, while brushes help for tight spots or decorative details. Spraying produces the smoothest finish but calls for perfect masking and even, overlapping passes. On rough surfaces, back-rolling after spray helps work paint in.
We insist on the right thickness: two full coats, applied after the primer has fully dried. We never rush in moist or cool conditions. Sometimes, working at night with exterior-grade coatings minimizes exposure to harsh sunlight, preventing lap marks.
Common pitfalls and how to avoid them
Even experienced contractors (and many DIYers) struggle with old masonry’s quirks. In our years at GCM Best Services, we’ve identified preventable problems:
- Painting while masonry is damp or humid—causing bubbles and early failure
- Skipping primer—paint peels weeks or months later
- Using the wrong primer or paint—stains return, chalk forms, or finish flakes
- Forgetting to mask or remove hardware—paint on fixtures, blocked weep holes, or stuck fasteners
- Ignoring cracks, holes, or failed caulking—moisture sneaks in behind the paint film
- Incomplete cleaning—mold or efflorescence breaks through, even on fresh paint
- Rushing—thick coats, painting under wet or windy conditions, or skipping cure times
Shortcuts save hours but cost years of durability and beauty.
Case stories: Real outcomes from our painting crews
A few years ago, we painted a 1950s concrete block home in Orlando. The prior paint job was less than two years old—but already, the finish was bubbling, peeling, and faded. After inspection, we found the old paint was applied without primer, over damp surfaces, and with minimal cleaning.
We removed loose layers with gentle scraping and power washing, let the walls dry, primed with a high-quality acrylic masonry primer, and used a breathable elastomeric topcoat. Three years later, the curb appeal still holds, even through a pair of hurricane seasons.
We’ve also helped commercial clients refinish historic brick storefronts, where only careful hand-prep and deep cleaning could permit a low-sheen coating designed for breathability. In each case, following the right process made the difference between a quick fix and years of protection.
Every wall tells a story. We help it last another chapter.
Resources and where to find more help
For more on the science of prepping and painting concrete in Florida’s unique climate, we recommend reviewing our guides on concrete care and repair, tips to prevent cracks in concrete patios and driveways, and our licensed contractor’s guide to concrete repair.If you’re considering new paver borders, artificial turf integration, or drainage upgrades under painted masonry, read how to choose the best Orlando concrete companyand proven solutions for St. Cloud driveways and patios.
Conclusion: Professional results, lasting surfaces
Painting over old masonry in Central Florida is a test of patience, skill, and material expertise. At GCM Best Services, we’ve seen that success comes from the right prep, smart primer choice, a matching finish—and never skipping steps.We treat each wall as part of the property’s foundation, protecting it from damp, sun, and storms. These steps aren’t quick, but they’re what keep walls looking fresh for years.
If you’re ready to renew your masonry—and want confidence against repainting in a year—our team is here to help. Start the process with our free on-site estimate, and see the difference a professional surface prep and paint job can make for your space.
Ready for a professional quote? 📞 (407) 250-1948 • 24–48h • Orlando, Tampa & area.
Frequently asked questions
How to prep old masonry for paint?
The best way to prep old masonry is to clean it thoroughly, fix any cracks or holes, and ensure the surface is completely dry.This often involves power washing, using specialized masonry cleaners for salt or mildew, patching with appropriate mortar, and removing any loose paint by hand tools. Always wait until the wall is dry (below 15% moisture content, if you can measure). Mask or remove nearby hardware to keep lines crisp, which is also recommended by official GSA guidelines.
What primer works best on masonry?
Use an acrylic or silicate-based masonry primer, which seals pores, controls moisture, and blocks stains.Water-based masonry primers are typically favored in Central Florida because they breathe and dry quickly. Oil-based primers are less common nowadays for exterior use. If the wall shows signs of efflorescence or previous moisture, always use a primer that is specifically labeled for masonry and offers stain-blocking properties.
Is it worth painting old masonry walls?
Painting old masonry is worth it if the surface is stable, clean, and prepared well. Fresh paint seals out moisture, renews curb appeal, and protects masonry from the elements. However, poor prep leads to trouble, so consider long-term results over quick fixes. Many property owners in Central Florida have extended the lifespan of their walls and reduced future repairs with the right painting approach.
How can I avoid paint peeling?
The most effective way to avoid peeling is to ensure the surface is dry, clean, and primed with the right product before applying any paint.Choose paints and primers designed for masonry, apply in suitable weather, and don’t exceed the recommended thickness. Never paint over damp or chalky surfaces, as those are the most common reasons we see for peeling in our jobs at GCM Best Services. For ongoing moisture issues, address sources like leaks or capillary draw first.
What are common mistakes when painting masonry?
Common mistakes include painting over dirt or moisture, skipping primer, using mismatched products, and ignoring repairs for cracks or failed caulk.Rushing the job—especially in Florida’s humidity—often leads to bubbling, flaking, and frustration. Even seasoned painters sometimes fail to mask hardware or work in unsuitable weather conditions, which can mar the final result. Our advice is always to invest the time up front in surface assessment and preparation; the results will show.