Fresh, vivid concrete surfaces can transform the curb appeal and value of any Central Florida property. At GCM Best Services, we see repainting exterior concrete as more than a simple upgrade—it’s an opportunity to add personality, protection, and long-term performance to driveways, patios, and other exterior surfaces. In this comprehensive guide, we’ll walk you through the expert steps that bring tired concrete a bold new life, showing what details matter and why. If you live in Orlando, Tampa, or anywhere throughout Central Florida, this step-by-step process will prepare you for a successful, lasting result—whether you tackle it yourself or partner with a trusted contractor.
Repainting concrete isn’t just a surface change. It’s a total impression change.
Why repaint exterior concrete?
First, let’s address the “why.” Old, weathered concrete can look dull, stained, or just uninspiring. A fresh paint job adds color and personality, but it goes further than looks. Here’s why we recommend repainting:
- Enhances curb appeal. Instantly refreshes driveways, patios, porches, and walkways.
- Protects from weather. Shields from Florida sun, moisture, and temperature swings.
- Improves safety. Slip-resistant textures reduce risks of falls in rain or near pools.
- Simplifies upkeep. Painted, sealed surfaces clean easier, resist stains, and slow algae growth.
- Increases resale value. Updated exterior spaces attract buyers and tenants, a key finding in studies from University of South Alabama about exterior improvements’ investment return.
Most homeowners notice an immediate difference. Neighbors mention it. Guests remark on it. Even daily routines feel just a bit brighter with a bold, clean entrance or patio.
Key decisions before you begin
Before breaking out the rollers, some planning pays dividends. These decisions shape not only the look, but also the longevity of the project.
Which areas to repaint?
Exterior concrete isn’t just driveways. Consider:
- Porches, walkways, and entrance steps
- Patios, lanais, and pool decks
- Garage and carport floors
- Foundations, stem walls, or retaining walls
Each area may require different coatings or colors for performance and aesthetics.
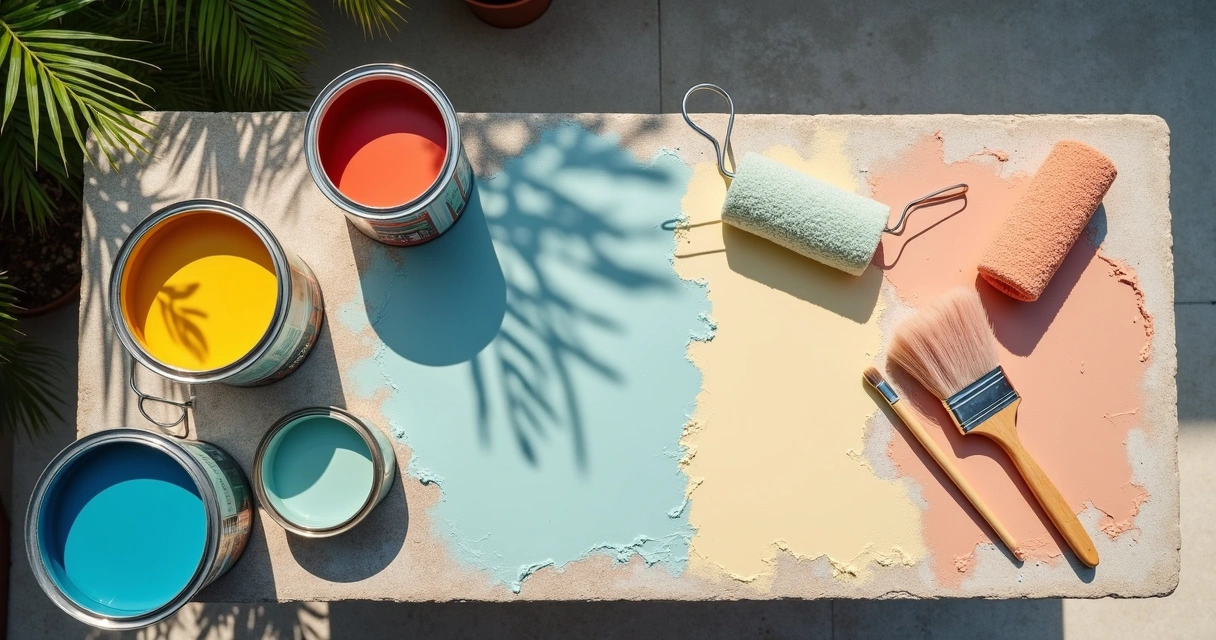
Choosing colors and textures
Light colors reflect sun and stay cooler, great for pool decks or south-facing patios. Grays, charcoals, and earth tones blend with modern homes. Solid colors create a bold effect, while multi-tone or “fleck” finishes disguise dirt and abrasion. We find color chips help visualize the final outcome, especially in Orlando’s shifting light and shadows.
Textures like broom finishes, faux tiles, or slip-resistant coatings make surfaces safer and more attractive. Choosing the right combination is as much about durability as it is style.
Product selection: Paint or specialty concrete coating?
Not all coatings are the same. Exterior “concrete paint” works for porch steps and walkways, while high-traffic driveways and commercial sites call for epoxy or polyaspartic coatings, similar to garage floors. Florida’s climate—sun exposure, heavy rain, and humidity—demands products that stand up over time.
For best results, check specifications for:
- UV resistance and sunlight stability
- Adherence to vertical and horizontal concrete
- Waterproofing properties
- Slip resistance (important near pools!)
- Dry and cure times (to limit downtime)
- Manufacturer’s warranty
We always recommend reading manufacturer’s technical sheets. If you’re unsure, this is where it pays to reach out to specialists like GCM Best Services for guidance.
Preparing exterior concrete for repainting
Preparation makes or breaks a concrete paint job. We’ve learned that even the best coatings will fail if they’re applied to dirty, damp, broken, or improperly-treated surfaces.
Step 1: Assessing surface condition
Walk the area during good daylight. Check for:
- Existing paint that’s peeling or chalky
- Stains from oil, algae, rust, or fertilizer
- Cracking, spalling, or heaving from soil movement
- Moisture issues (dark spots, ponding after rain)
Small cracks and stains can be treated; structural problems should be addressed first. For guidance on permanent repair, see our concrete repair tips for Orlando homeowners.
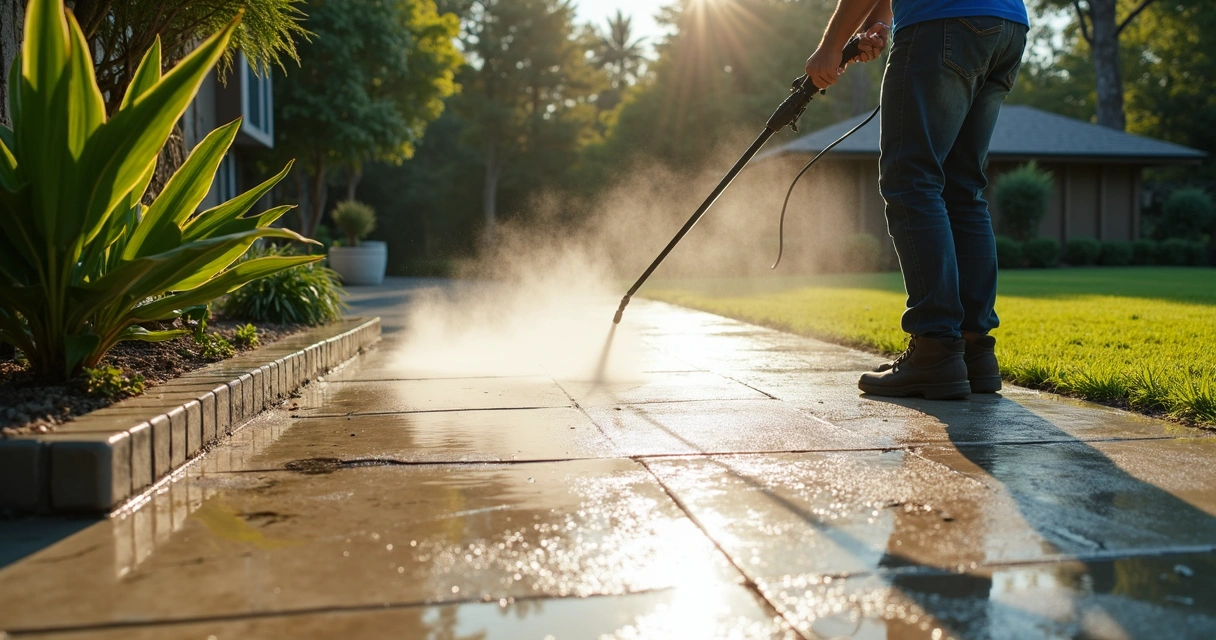
Step 2: Cleaning the concrete
All coatings need a super-clean surface. Our experience has shown:
- Pressure-wash thoroughly, but avoid damaging the concrete with extreme settings.
- Use degreasers or concrete cleaners for tough oil or mildew stains.
- Scrub with stiff bristle brushes or mechanical scrubbers for deep-rooted spots.
Give extra attention to corners and expansion joints—paint won’t stick to mold or grime hiding there.
Step 3: Repairing damage and cracks
All cracks and holes must be filled before painting. This prevents water intrusion and future peeling. We recommend:
- For small cracks: Concrete caulk or patching compounds
- For larger holes: A preblended repair mortar, troweled smooth
- Allow all repairs to cure completely (refer to manufacturer’s recommendations)
If you notice unusual or recurring cracks, see our article on preventing and repairing Florida concrete cracks for deeper insights.
Step 4: Etching and profiling the surface
Even cleaned concrete can be too smooth for paint to grab onto. We use one or more of these approaches, depending on the age and finish of the slab:
- Concrete etching solution: Mild acid opens the surface for better paint adhesion.
- Mechanical grinding or sanding: Flattens bumps and exposes new concrete for a quality bond.
- Vacuum thoroughly after for dust removal.
This step determines the project’s long-term success. Poorly prepped, slick concrete often leads to bubbling and peeling paint.
Step 5: Drying and testing moisture
Central Florida humidity can sneak into even the best-poured concrete. Paint needs a dry foundation. Try this:
- Allow at least 24–48 hours after cleaning or rain for complete drying.
- Test with a plastic sheet taped to the surface overnight—moisture under the plastic means you need to wait and retest.
Patience here saves headaches down the road.
Applying primer and paint or coating
With the surface ready, it’s time to start building your new look. Here’s what works—layer by layer:
Step 1: Priming for concrete adhesion
Concrete primer bonds paint or coatings to porous surfaces, blocking future stains and improving color uniformity. Choose a primer recommended by the coating manufacturer. Apply with brush or roller, working into every pore and edge. Allow full drying—typically 2–4 hours, or as directed.
Step 2: Mixing and tinting paint or coating
Mix thoroughly—pigments can settle at the bottom, giving an uneven finish. If using multi-part systems (like epoxy), blend exactly as directed. Some coatings allow tinting at the paint store for custom colors or matching to home palettes.
Wear gloves and eye protection. Protect surrounding lawns and garden beds from splatters—Florida sun sets paint fast!
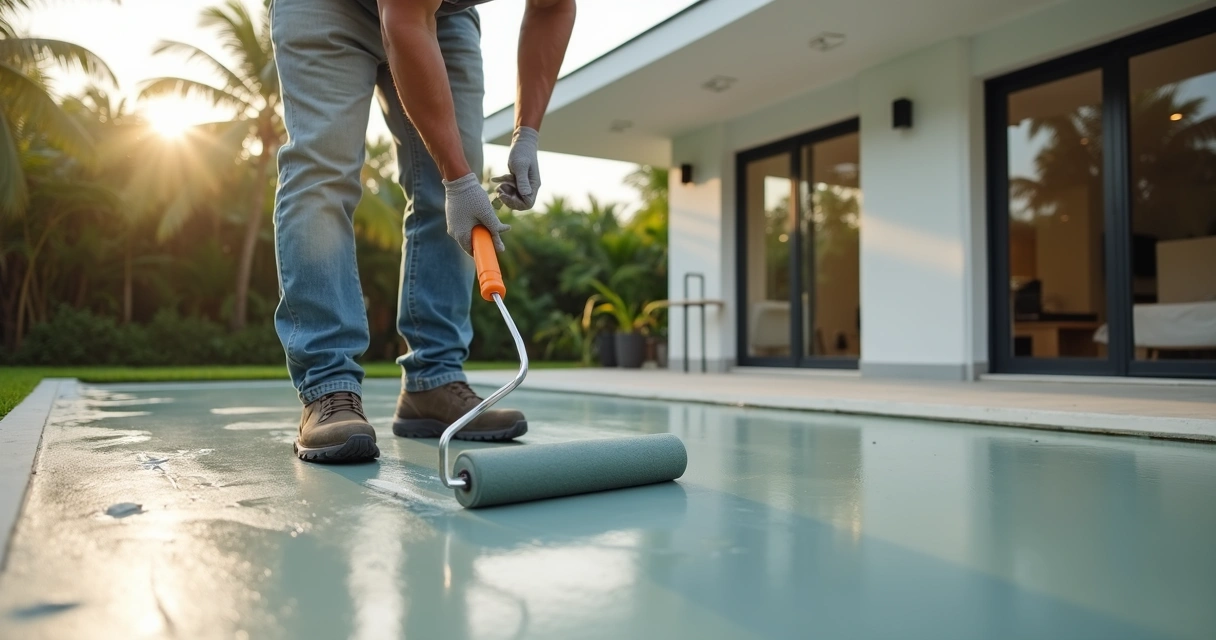
Step 3: Applying the paint or coating
Use long-handled rollers for wide areas, and smaller brushes to cut in edges, expansion joints, or corners. Apply paint with steady, even pressure. If using specialty finishes (e.g., stamped patterns or flake), follow manufacturer’s guidelines for optimal results.
Common tips from our projects:
- Work in the early morning or evening when surfaces are cool.
- Apply thin, even coats—two light coats outperform one thick layer.
- Allow 3–4 hours between coats, or as specified by the product label.
Step 4: Adding slip resistance (if desired)
For safety, especially around pools or entryways, consider mixing slip-resistant additive into the paint or rolling it over the wet topcoat. Commercial driveway coatings may incorporate fine quartz sand, chips, or clear grit, giving just enough traction without being harsh on bare feet.
Test a small area for feel and adjust as needed.
Step 5: Curing and protecting the finish
Patience again: allow painted or coated surfaces to cure fully before exposure to foot traffic, vehicles, planters, or pets. This could be 24 hours for standard paint, up to 72 hours for heavy-duty coatings. Fast returns to service are possible with polyaspartic products, but always confirm on the label. We know from experience—traffic too soon equals scuff marks and dulled shine.
Maintenance tips for long-lasting color and performance
Once your bold new look is cured, simple steps keep it looking fresh:
- Sweep loose debris regularly—grit can act like sandpaper on painted concrete.
- Hose off pollen, leaves, and dirt monthly. For stubborn spots, a gentle soap and soft brush do wonders.
- Check for stains after storms, especially from fertilizer or plant pots; clean these early to prevent setting in.
- Inspect seasonal wear. Touch up chips or scuffs quickly to prevent moisture from getting underneath.
- Reapply a clear sealer every 2–3 years, especially on high-traffic driveways or patios. This keeps colors vibrant and blocks UV fade.
We find these habits protect your investment for many years of Florida sun and showers.
Common mistakes to avoid when repainting exterior concrete
We’ve seen hundreds of concrete transformations, and patterns in missteps show up again and again. Here’s what to watch for:
- Skipping surface prep. Even “clean-looking” concrete can harbor dust and oils that block paint adhesion.
- Painting over damp surfaces. Moisture under paint results in bubbling, peeling, or white “blush.”
- Using the wrong product. Interior or unsealed paint won’t last in Florida’s humidity and UV exposure.
- Ignoring expansion joints. These should be masked or sealed, not painted over, to avoid future cracking.
- Rushing dry or cure times. Hurrying often leads to scuffs, tire marks, or imprints in the new finish.
Success lives in the prep. Slowing down gets you there faster.
If you’re unsure about any steps, reading expert advice at our concrete insights blog can help you avoid pitfalls and save time in the long run.
When to call a professional contractor
While repainting concrete can be a rewarding DIY project, there are times when professional support makes sense. We suggest considering expert help if:
- You have large cracks, shifting slabs, or drainage issues that indicate foundation movement.
- Specialty finishes (like stamping or multi-layer metallics) are desired.
- Area is quite large, steeply pitched, or hard to access.
- Local HOA, codes, or permitting apply—professionals handle inspections and compliance.
Contractors like GCM Best Services use specialized equipment, industrial-grade coatings, and follow OSHA-safe work practices. We also back work with written warranties and service records, often required for home sales or insurance in Central Florida.
If you want to learn what to expect from a concrete contractor, our guide on selecting a concrete company in Orlando answers the most common questions.
Budget, value, and return on investment
Cost varies by square footage, product quality, and design complexity, but most exterior concrete repainting projects deliver solid returns. According to data compiled by University of South Alabama, exterior upgrades like repainting often increase home value and saleability.
Expect to spend less than replacement, often less than $2–$5 per square foot for quality coatings (more for premium epoxies or patterns). The payoff: Reduced maintenance, better first impressions, and keeping pace with property trends in your neighborhood.
For a detailed, local estimate, visit our concrete driveways and patios cost guide.
Timeline: How long does the process take?
Most residential projects finish in one weekend:
- Day 1: Prep, clean, dry, repair, and prime (if needed)
- Day 2: Paint or coating application, plus slip resistance
- Day 3: Curing and light use (but wait for full cure before vehicles or heavy traffic)
Larger areas or specialty finishes may take extra days for drying and cure. In our experience, working in the dry season (spring or early fall in Central Florida) minimizes weather interruptions and helps coatings bond faster.
Bold inspiration: Patterns and creative looks
Sometimes, homeowners want more than just a color update. Options include:
- Stenciled geometric patterns or borders
- Faux tile grids or stone effects with scoring
- Broadcast flakes for a terrazzo look (especially in garages and lanais)
- Two-tone or gradient rolls for a contemporary feel
For ideas, inspiration galleries, and before-and-after photos, browse our concrete project showcase. There’s always a new way to personalize your patio or driveway.
Conclusion: Fresh concrete, fresh perspective
As we see time and again at GCM Best Services, repainting exterior concrete is about more than just color. It’s about protecting your investment, boosting curb appeal, and creating a welcoming space in Central Florida’s unique climate. Proper prep and the right products are key. Whether you choose to do it yourself or consult specialists, every step you take creates a space that feels well cared for, updated, and truly yours.
If you’re ready to talk about your project, review finish choices, or schedule a no-obligation assessment, we’re ready to help.
Ready for a professional quote? 📞 (407) 250-1948 • 24–48h • Orlando, Tampa & area.
Frequently asked questions
What is the best paint for concrete?
The best paint for exterior concrete is one designed specifically for high-traffic, outdoor use—often called masonry paint, concrete paint, or acrylic latex concrete coatings. In our experience, 1-part epoxy acrylics or premium waterborne acrylic coatings last longest and resist UV, weather, and abrasion. For garages and pool decks, two-part epoxies or polyaspartics provide extra durability and chemical resistance. Always look for slip resistance and verify the product’s suitability for driveways, patios, or pool areas.
How to prepare concrete before painting?
Surface prep starts with deep cleaning—pressure washing, degreasing, and removing old loose paint, followed by patching any cracks or holes. For best results, etch or lightly sand to open up the surface, rinse thoroughly, let dry for 24–48 hours, and ensure no moisture is present before applying primer or paint. Good preparation makes a lasting, professional-looking finish possible.
How long does exterior concrete paint last?
Quality outdoor concrete paint typically lasts 3–7 years in Central Florida, depending on foot and vehicle traffic, sun exposure, and the specific product used. Garage floor and pool deck coatings may last longer, 5–15 years, when applied over fully prepped surfaces and touched up as needed. Following maintenance tips—like reapplying sealer and cleaning stains quickly—can add years to your finish.
Is it worth it to repaint concrete?
Yes, repainting exterior concrete refreshes both appearance and function without full replacement costs. Studies show that exterior improvements like concrete repainting often raise home value and attract buyers or tenants. Beyond looks, you gain protection against Florida weather, easier maintenance, and added safety—making it well worthwhile for most properties.
Can I paint over old concrete paint?
You can repaint old concrete paint if the existing coating is sound (not peeling or chalky). Remove loose or flaking areas, clean thoroughly, patch cracks, and lightly sand or etch to ensure adhesion of the new paint layer. For best results, a concrete primer between old and new coatings can help, especially if switching product types or colors. If unsure, a small test area is wise before committing to the full project.